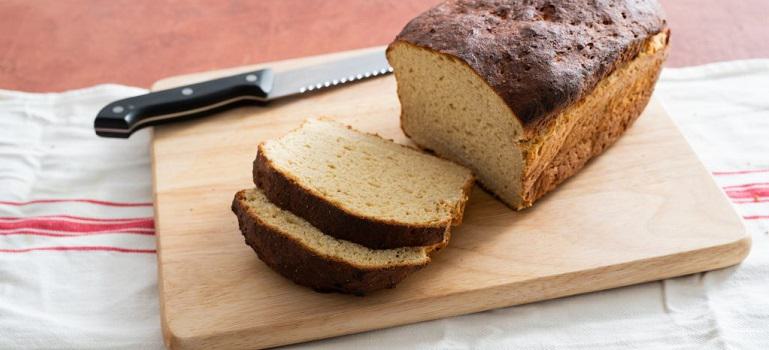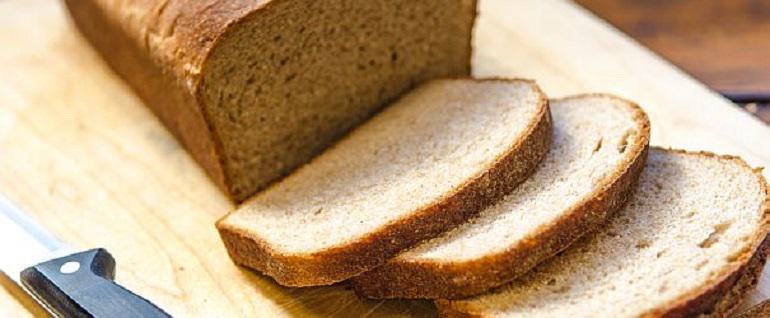


 So, what's the secret to light and fluffy bread? We already talked about the importance of letting the bread rise all the way, but there's another crucial component that all bakers must be aware of: you must use the right flour. While bread can be made with multiple kinds of flour, using a specialty bread flour like our Artisan Bread Flour is an excellent way to ensure that your texture will come out just right. High in protein and made with quality wheat, a bread flour like this ensures that your dough creates the optimum conditions for yeast growth and enables your bread to rise higher than if other powders were used.
If you're searching for a light and fluffy bread recipe that's also gluten free, make this Everyday Bread. By using our Gluten Free All Purpose Baking Flour, you can create an airy bread recipe in just a couple of hours. Perfect for sandwiches or toast, it's the ideal bread to make for those with food allergies.
Aside from using bread flour, several other tips and tricks can be used to ensure that your bread rises properly. Keep scrolling to discover some of our favorite ways to create the perfect loaf of bread.
 Now that we've talked about how you can get bread dough to rise faster, it's time to tackle the question at hand, "how long does it take bread to rise." Though this answer may vary, if you're cooking in a warm kitchen with a moist dough, your bread will likely rise in 45 minutes or less. Now, if you're working with a firm dough with less moisture, it will take longer than 45 minutes to rise. When ensuring that your bread is rising correctly, it's essential to set a timer to tell you when to check on your dough. A timer will give you a good indication of if your bread is rising. However, it will not necessarily tell you when the bread is ready to go into the oven. Every batch of bread is different, as is every batch of yeast. The type of bread you're making and your kitchen's temperature can significantly affect the rise time.
If you are looking for ways to cut your rise time in half, as previously mentioned, we recommend putting the dough somewhere warm like on top of a warm appliance. Another trick you can use to decrease your rise time is to invest in a proofing bag. Placing your dough inside a proofing bag will help capture the heat and lock in the moisture, to create an environment where the dough will rise significantly faster.
If you're in a time crunch, make this Honey Whole Wheat Bread for a simple, quick-rising bread recipe. It is the perfect bread for toast, sandwiches, or to enjoy with fresh jam. To make this loaf, we chose to use a combination of half all-purpose flour and half whole wheat flour. This unique flour combo creates a bread that is wonderfully chewy, but not overly dense. Sweet in flavor and oh-so-delicious, we hope you enjoy this loaf as much as we do.
 Not in a hurry? If you're not in a rush, then it's not a bad idea to let the dough rise slowly. Slow-risen dough has a much more acidic flavor than a fast risen dough. An example of a more acidic bread is sourdough bread. When you slow down the rising process in a dough, it causes a much different chemical reaction. Instead of the yeast creating bubbles in the batter, it begins to break down the sugars and form alcohol within the breadminimal amounts, of course. The small amount of alcohol is what gives slow rising bread its lovely flavor.
How can you slow the rise of the bread? Many professional Baker's often use the refrigerator to slow down the growth or find a cool spot in the house. An open window on a chilly day or even a shady spot in the yard will help create a slow rise bread with a delicious flavor that can't be matched.
Eager to make a slow rising bread? Use this No-Knead Artisan Bread Recipe to make the loaf of your dreams. While this recipe is simple to make, it does require a slow rise time10 hours, to be exact. To make, mix the dough and let it sit overnight (or for 10 hours). While you may have to plan for the 10 hours rise time, it's a much easier process than kneading the bread by hand. Plus, it's the perfect bread to mix in the morning before work and then pop in the oven that evening to enjoy a fresh slice with dinner.
Now that you know the different methods you can use to help your bread rise, it's time to hit the kitchen. Whether you choose to make a simple everyday bread recipe or challenge yourself with a more time-consuming sourdough, we're confident that your loaf will be delicious. From everyone at Bob's Red Mill, happy baking.
Have a favorite bread recipe of your own? Let us know how you create the perfect loaf in the comments below.