[caption id="attachment_1171007" align="aligncenter" width="770"]
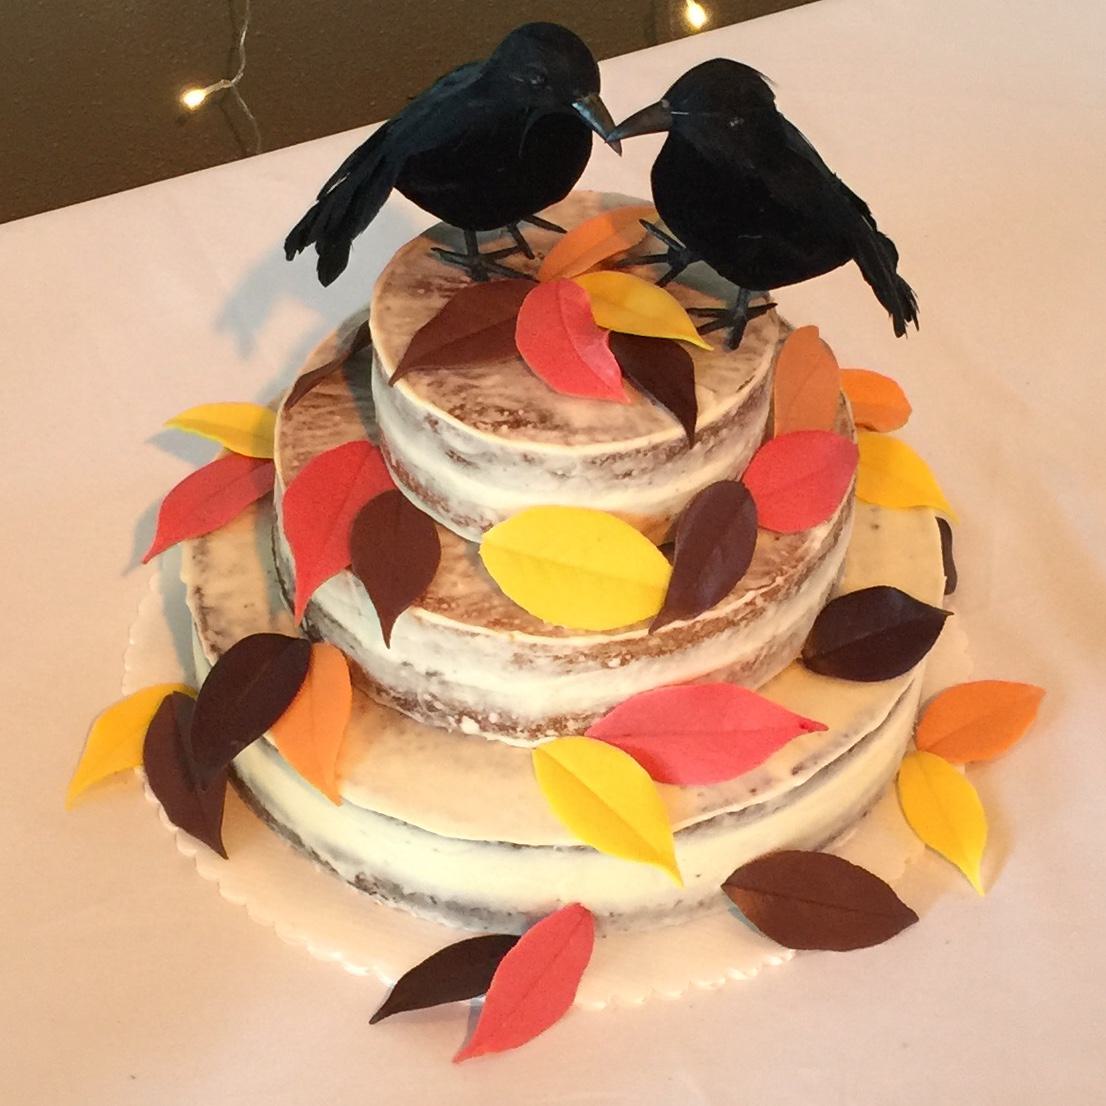
The finished cake--frosted "naked" style with chocolate leaves and crows.[/caption]
If you looked at the title of this post and thought, Make
a wedding cake? Ridiculous!I have to say, 20 years ago I thought the same thing! I'd been baking cakes since grade school, but something about the size (and tiers!) and importance of a wedding cake seemed far beyond my capabilities. Until I learned a few tricks, mostly from
The Cake Bible byRose Levy Beranbaum (shoutout to this fantastic book!). With a few simple tips and a few tools, you too can make beautiful wedding cakes that are delicious, personal and special.
[caption id="attachment_1170995" align="aligncenter" width="770"]
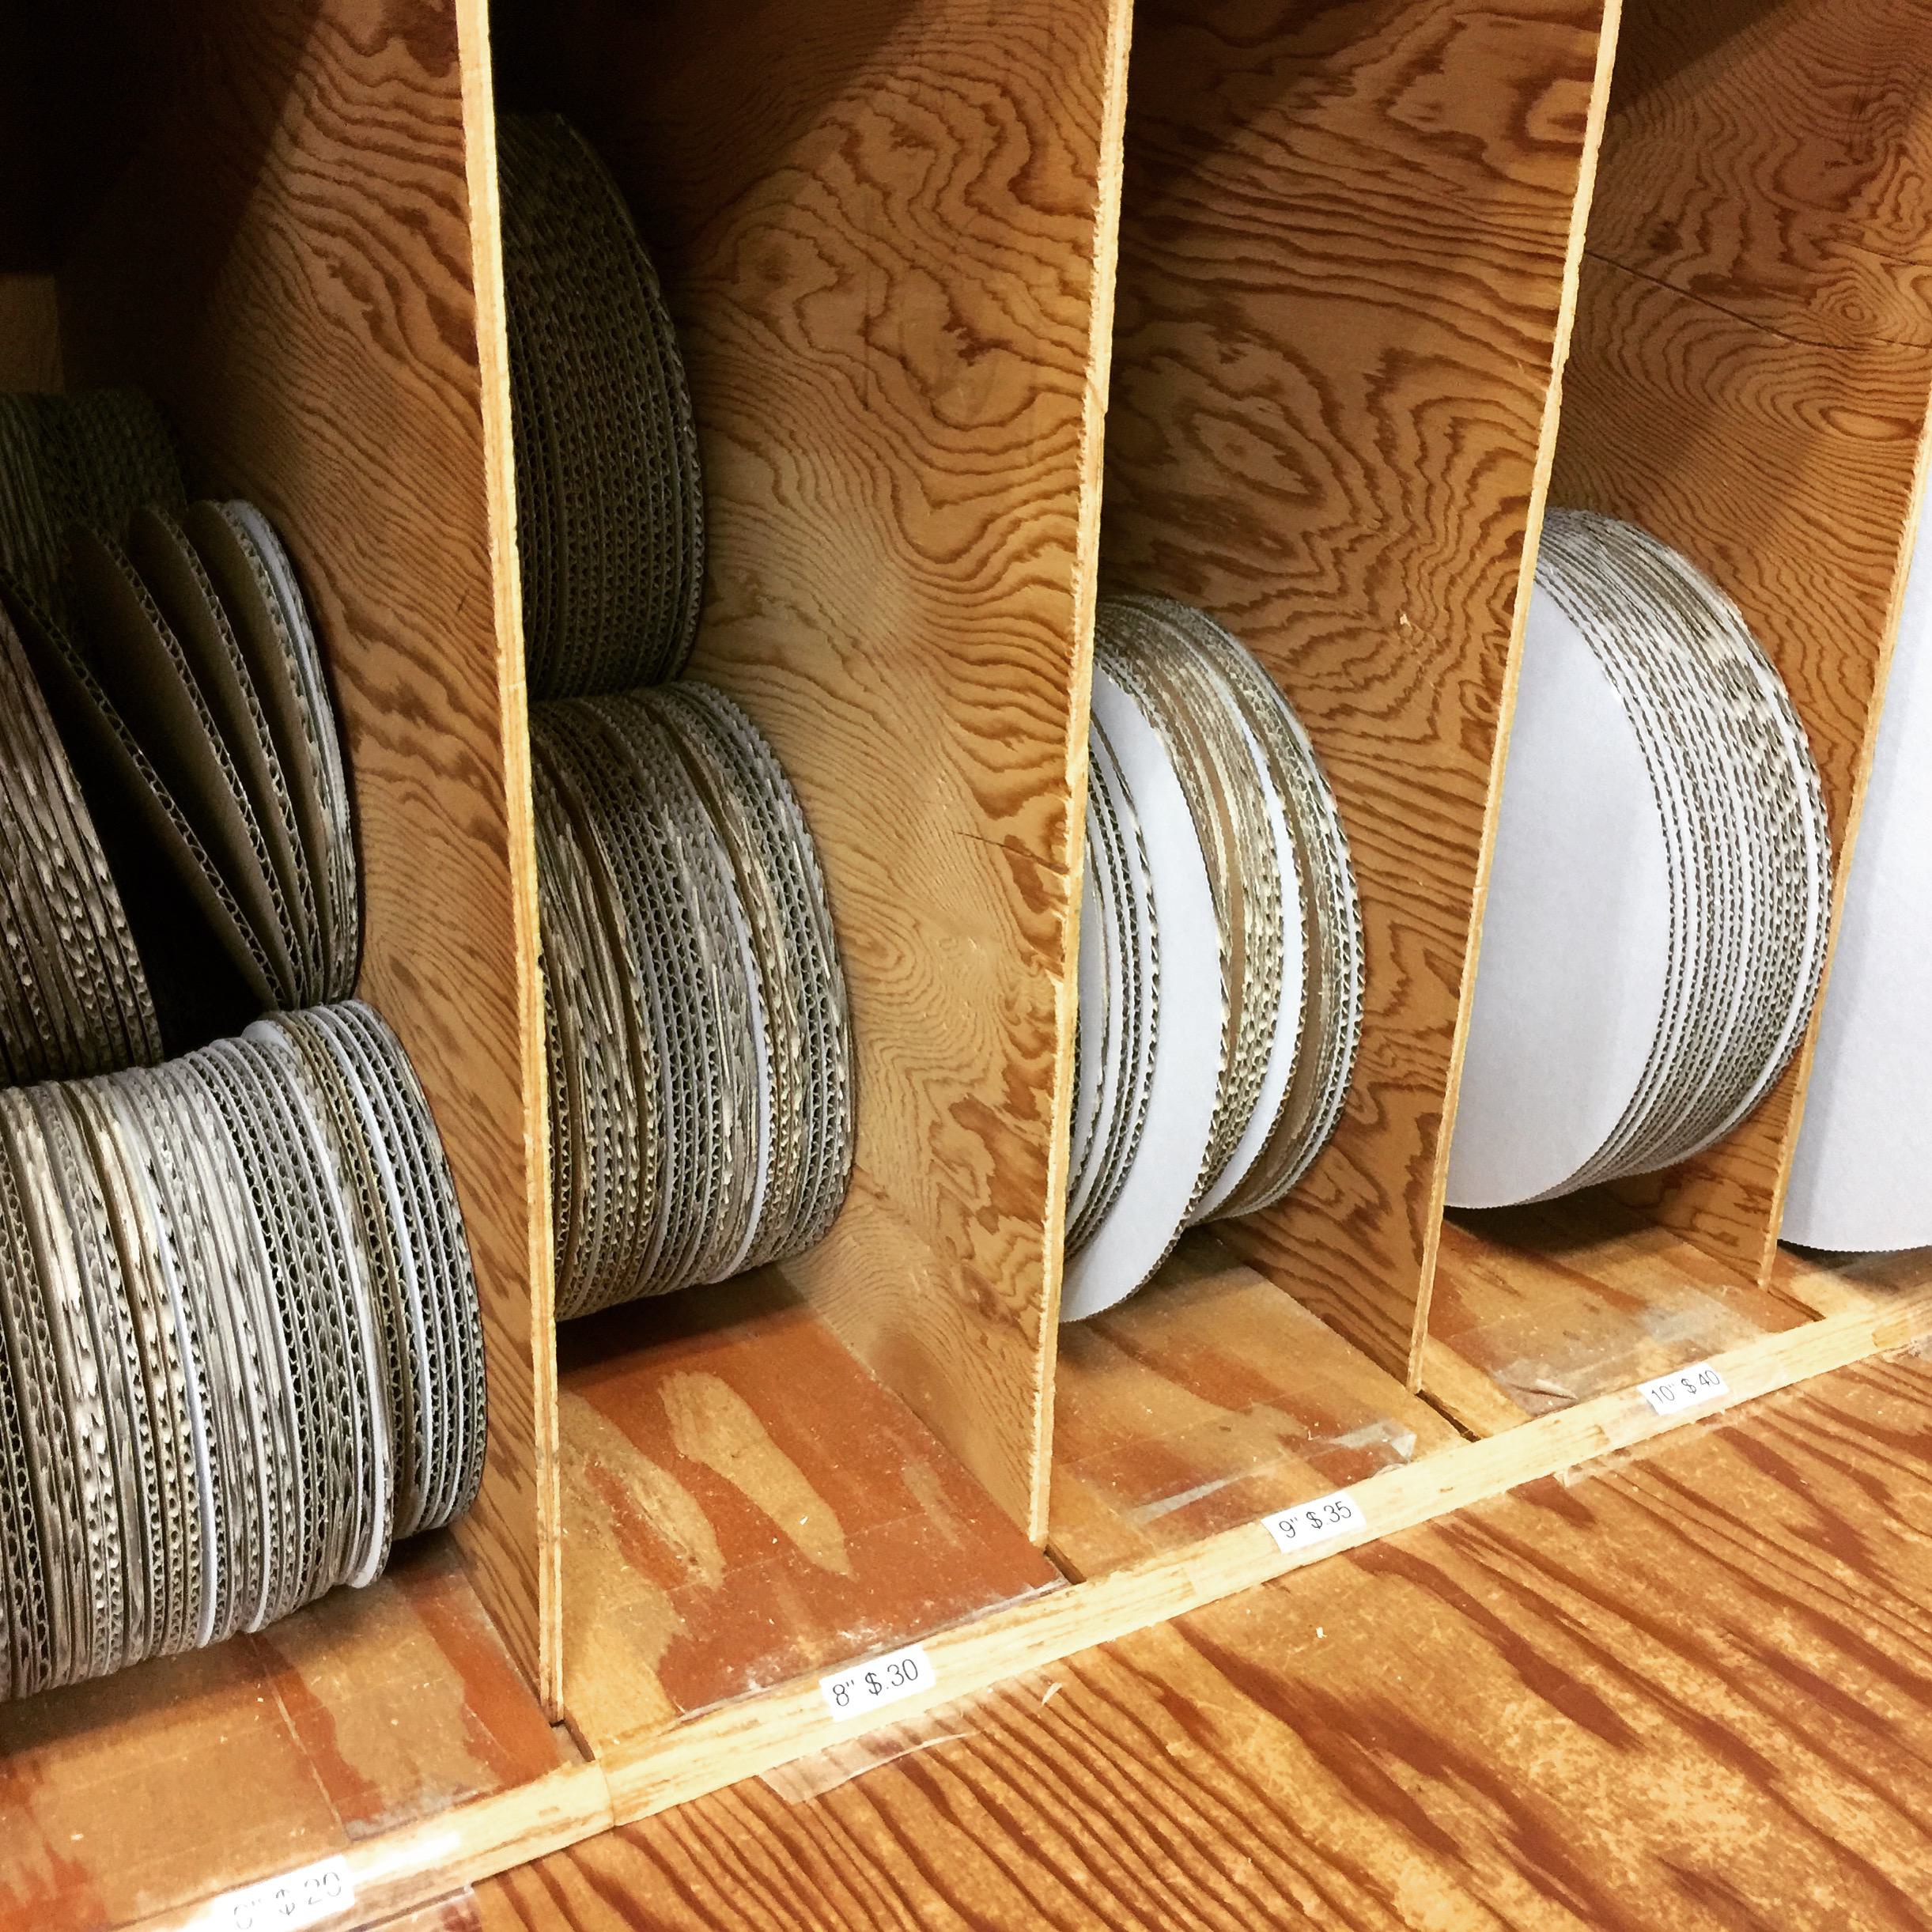
The foundation--literally--of any great cake: cardboard rounds![/caption]
Wedding Cake Tools and Equipment
Not all of these things are essential (I've bolded the ones that are, to my mind), but they can help you take your cakes to the next level!
- Large and small flat metal spatulas (for spreading and smoothing frosting)
- Cardboard cake rounds
- Plastic drinking straws
- Cake pans
- Parchment paper
- Wooden toothpicks
- Ruler
- Serrated knife
- Stand mixer (especially for large batches of buttercream, which are difficult to do with a hand mixer)
- Lazy Susan (makes it so much easier to smooth the sides of the cake)
And of course, don't forget:
plenty of room in your refrigerator! For me, the number-one way to transport a cake safely is to make sure it (and the frosting) are thoroughly chilled, trust me on this.
[caption id="attachment_1170994" align="aligncenter" width="770"]
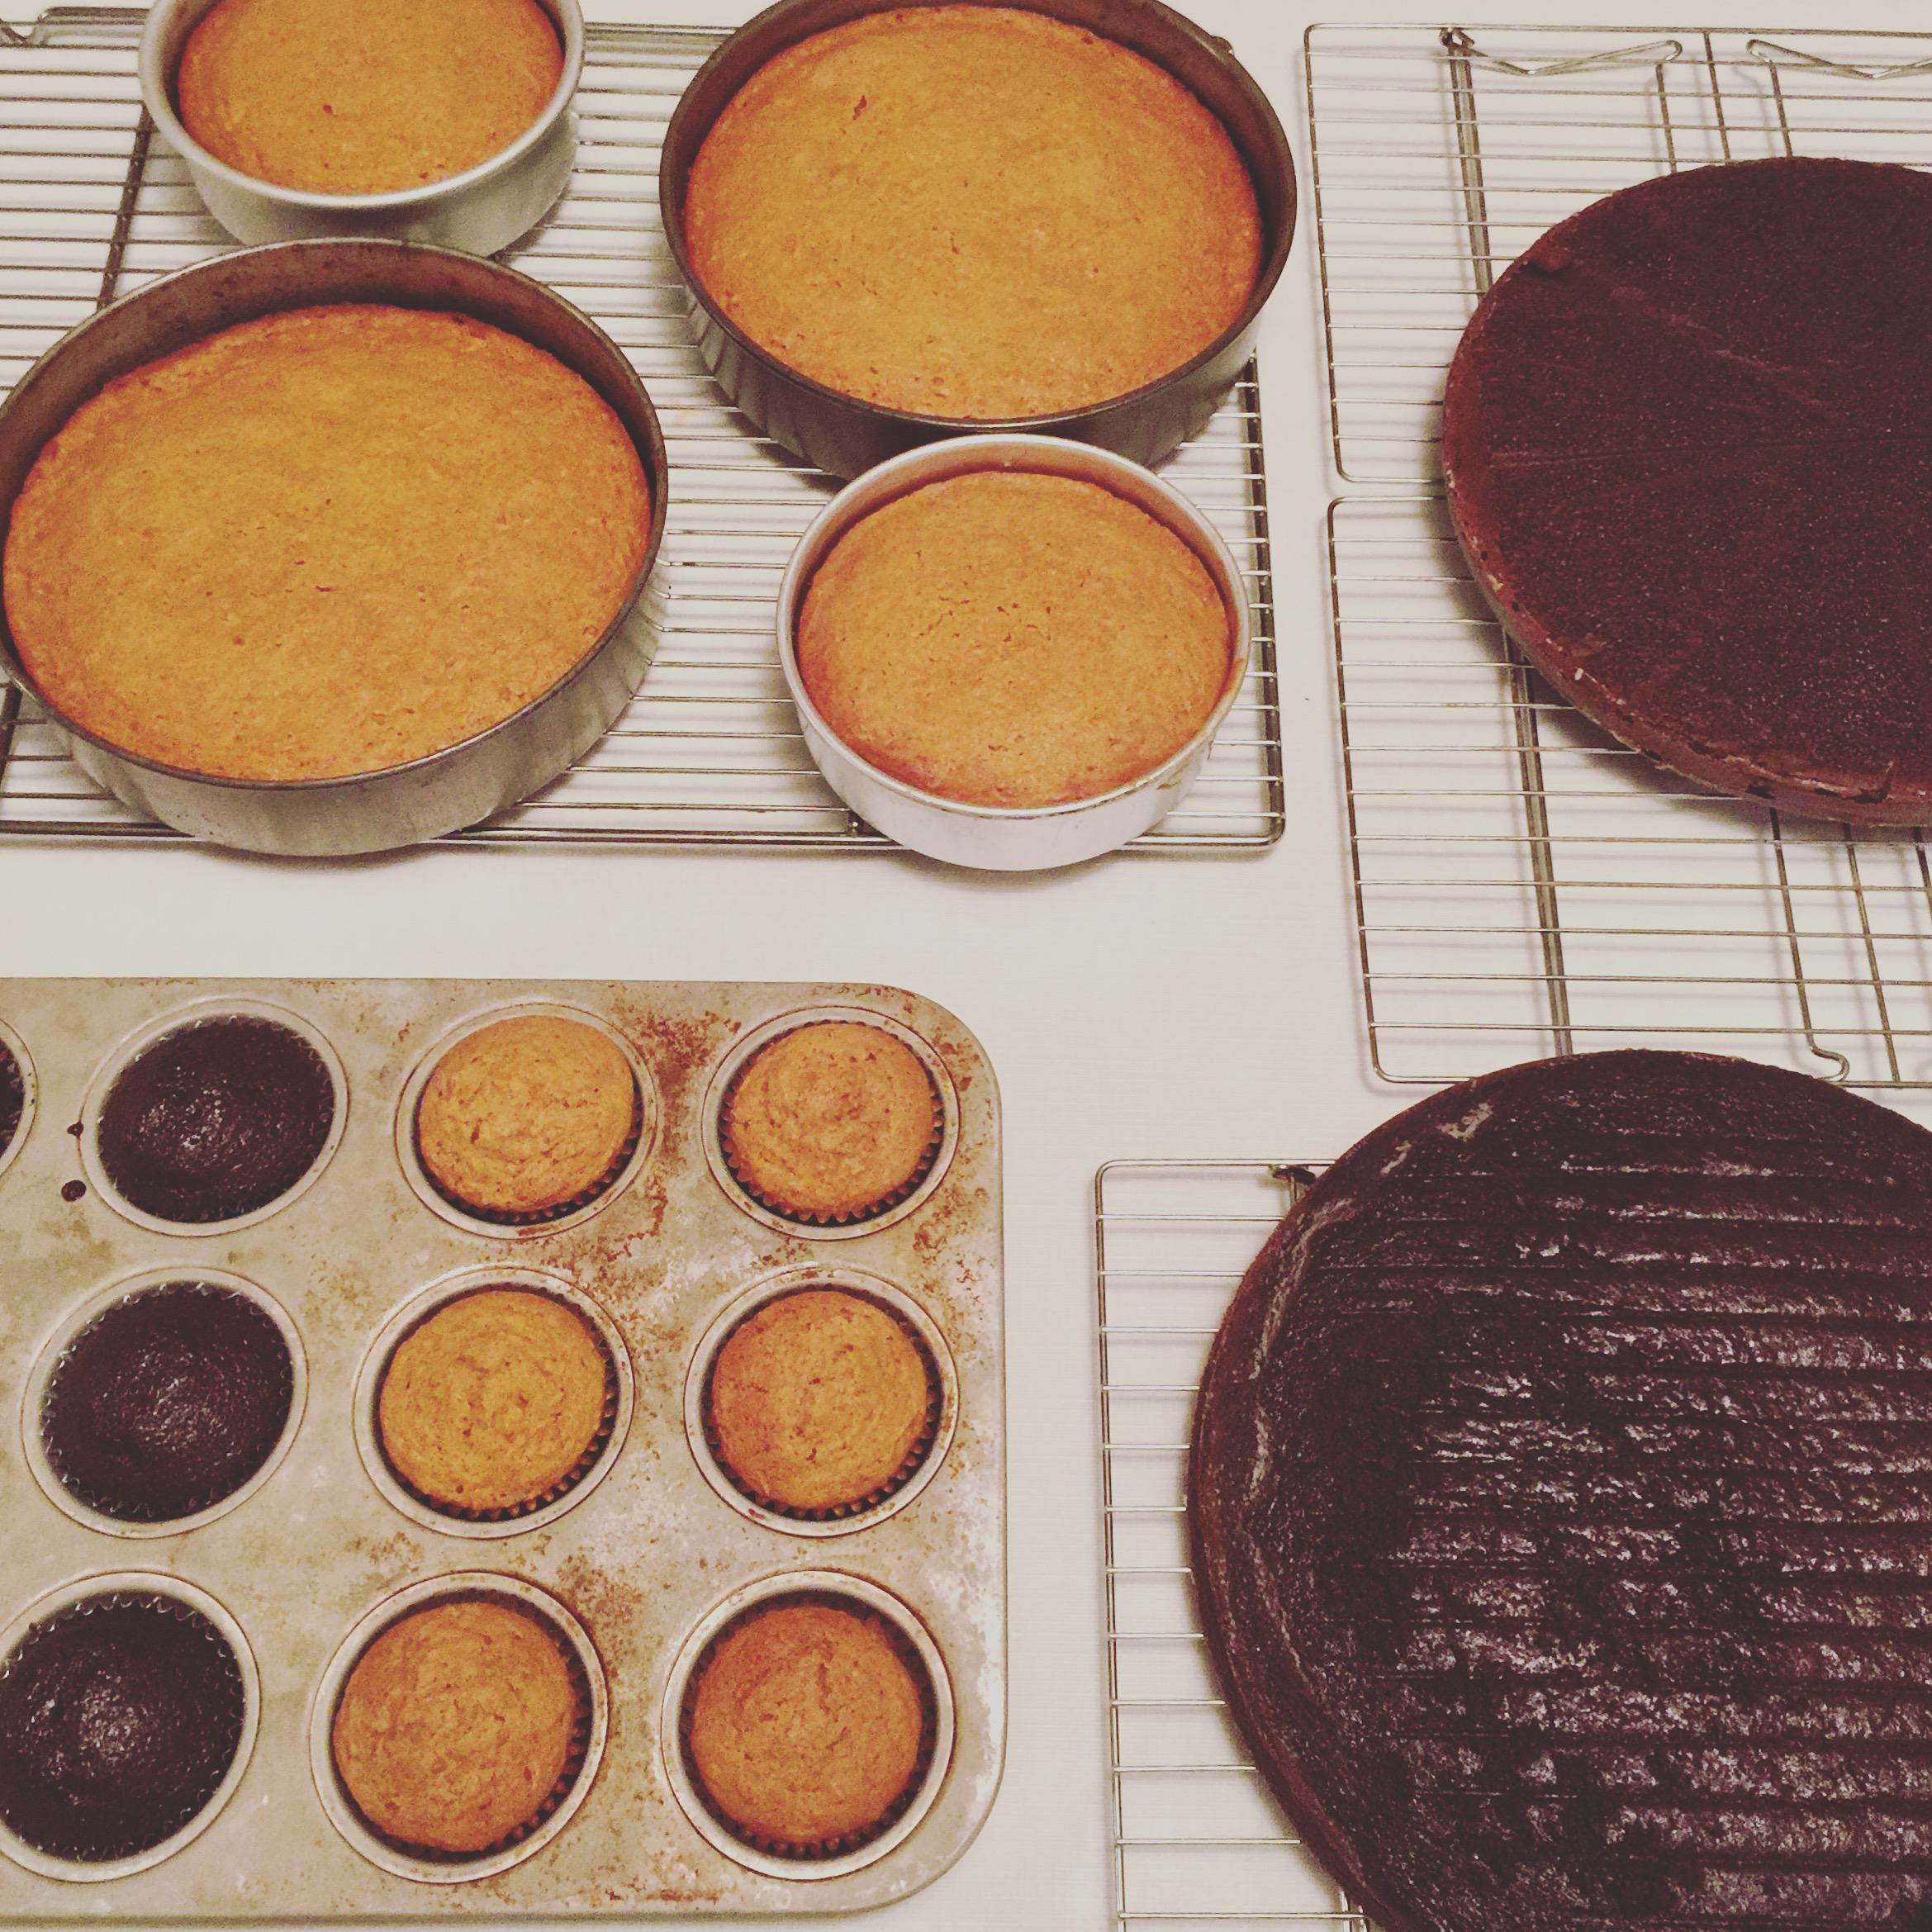
Look at all the cake! I made some bonus cupcakes with leftover batter.[/caption]
Choosing Your Recipes
This is the fun part! After all, the flavors of the cake, frosting and filling is what people will remember. It's best to choose recipes you've used before, so you know what to expect in terms of making the cake and the eventual outcome. I love simple butter cakes for wedding cakes: they're solid and easy to work with (you'll be handling them a lot), and a cake with a finer crumb is easier to level.
In terms of frosting, it will be helpful to know how you'll be using it. For example, if you're doing a lot of piping, a traditional buttercream is nice and firm, and any shapes you create should hold up. (Please note: when I refer to buttercream I'm not talking about the kind with powdered sugar; I mean the kind where you
boil a sugar syrup and add it to eggs and butter, like this one.) A cream cheese frosting, on the other hand, is softer and not great for that purpose (but yummy).
Cake and frosting make the perfect pair, but with a wedding cake I also love to include a special filling, like lemon curd and/or fresh fruit. This can bring a cake from delicious to absolutely outstanding. Here are some combinations that I've enjoyed making (and eating) in the past:
- White Cake with Lemon Curd filling and Vanilla Buttercreamthis combination is especially complementary: the cake calls for egg whites and the curd calls for the yolks. I've also added fresh raspberries to this cake with marvelous results.
- Carrot Cake with Orange Marmalade filling and Cream Cheese frosting.
- Chocolate Cake with Fresh Raspberries and Chocolate FrostingI often use the chocolate frosting between the layers to anchor the fresh raspberries, then use a more traditional "wedding" (aka white or ivory) frosting on the outside.
[caption id="attachment_1170996" align="alignright" width="350"]
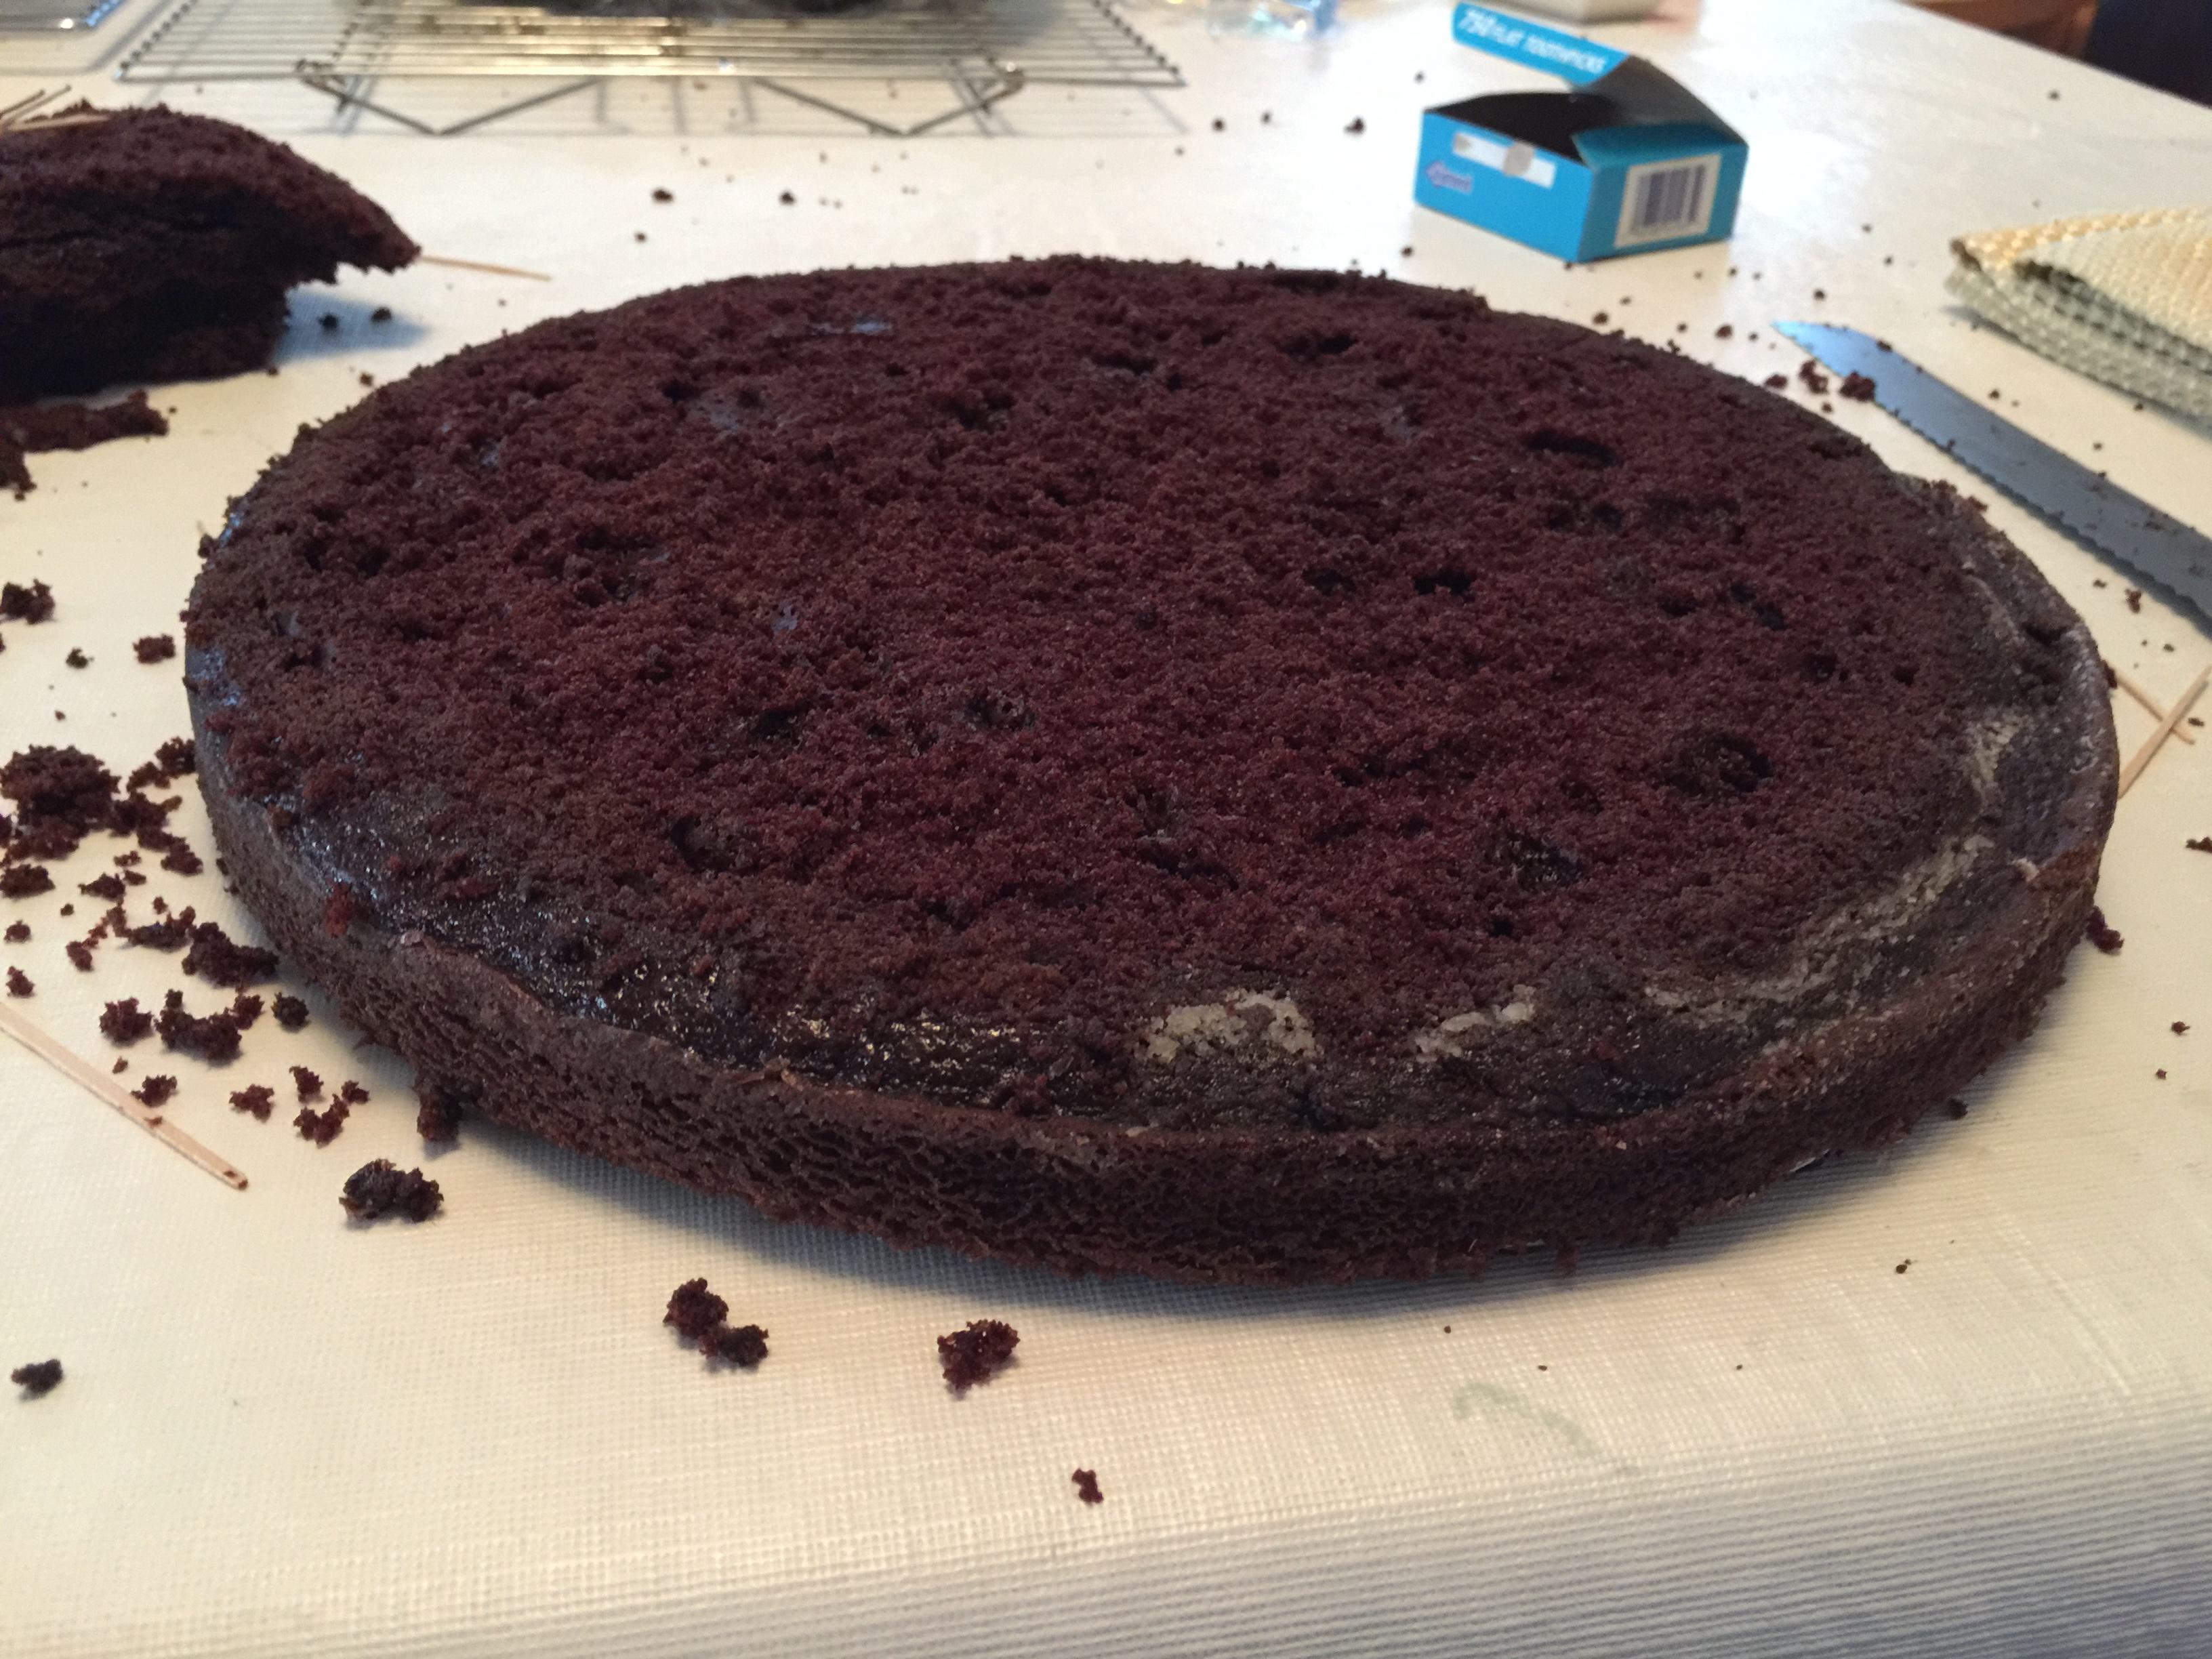
This cake is actually a little too soft and airy to level easily, but delicious.[/caption]
What Sizes to Select?
How much cake do you need? While the traditional three-tier cake is always lovely, you may need or want less. Wedding cake portions are typically smaller, about 1 x 2 inches, but even this can be tough to calculate depending on the shape and depth of your tiers.
Wilton has a handy guide to help. But as a rule of thumb, a three-tier cake with 6-inch, 9-inch and 12-inch rounds will yield about 100 wedding cake portions. Keep in mind that many couples like to freeze the top tier and eat it on their first anniversary!
[caption id="attachment_1170999" align="aligncenter" width="770"]
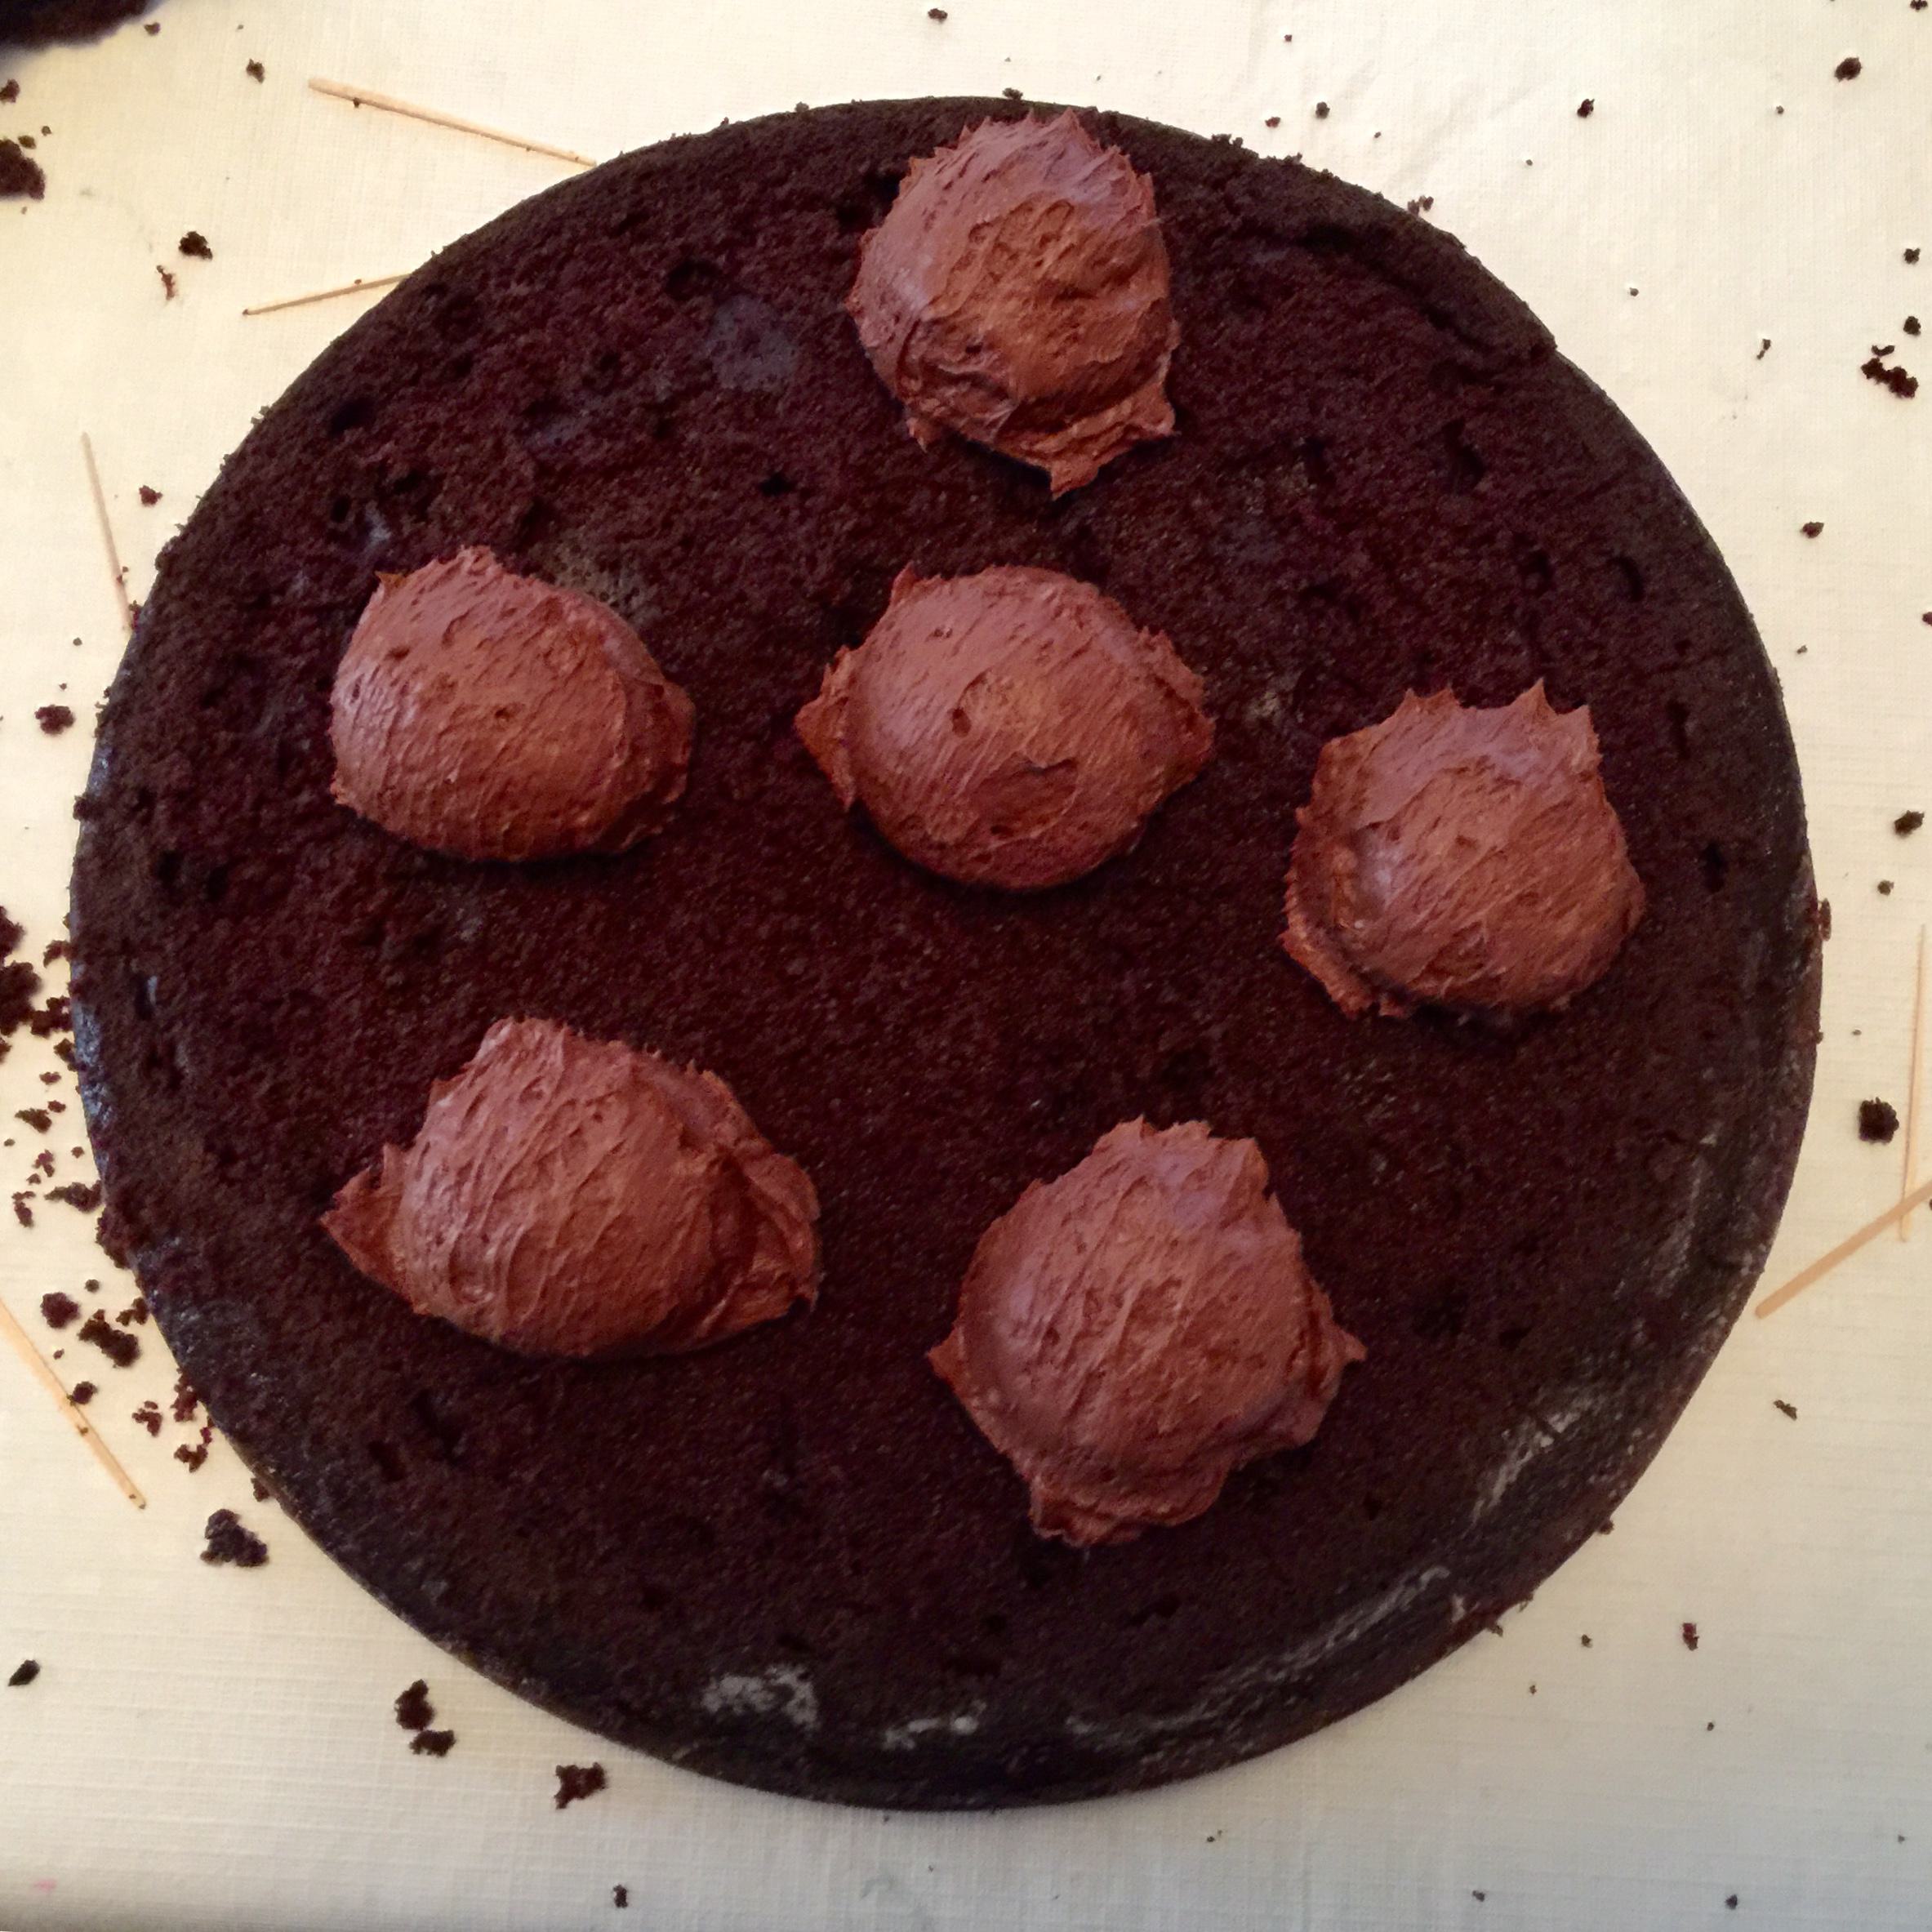
I use a spring-handled scoop to add frosting before smoothing![/caption]
Filling Your Cake Pans
Unless you choose a recipe that's specifically sized for wedding cakes, you'll likely be dealing with cake recipes that will yield two 8- or 9-inch round layers. So there will be some math involved if you're, say, filling 8-inch and 14-inch square cake pans. No worries!
Wilton again has a great guide to help. This is especially useful when you're working with a recipe you've made before, but if not, my advice isto make a little more batter than you think you'll need. If there's any left over, use it to make cupcakesfor yourself!
[caption id="attachment_1171000" align="aligncenter" width="770"]
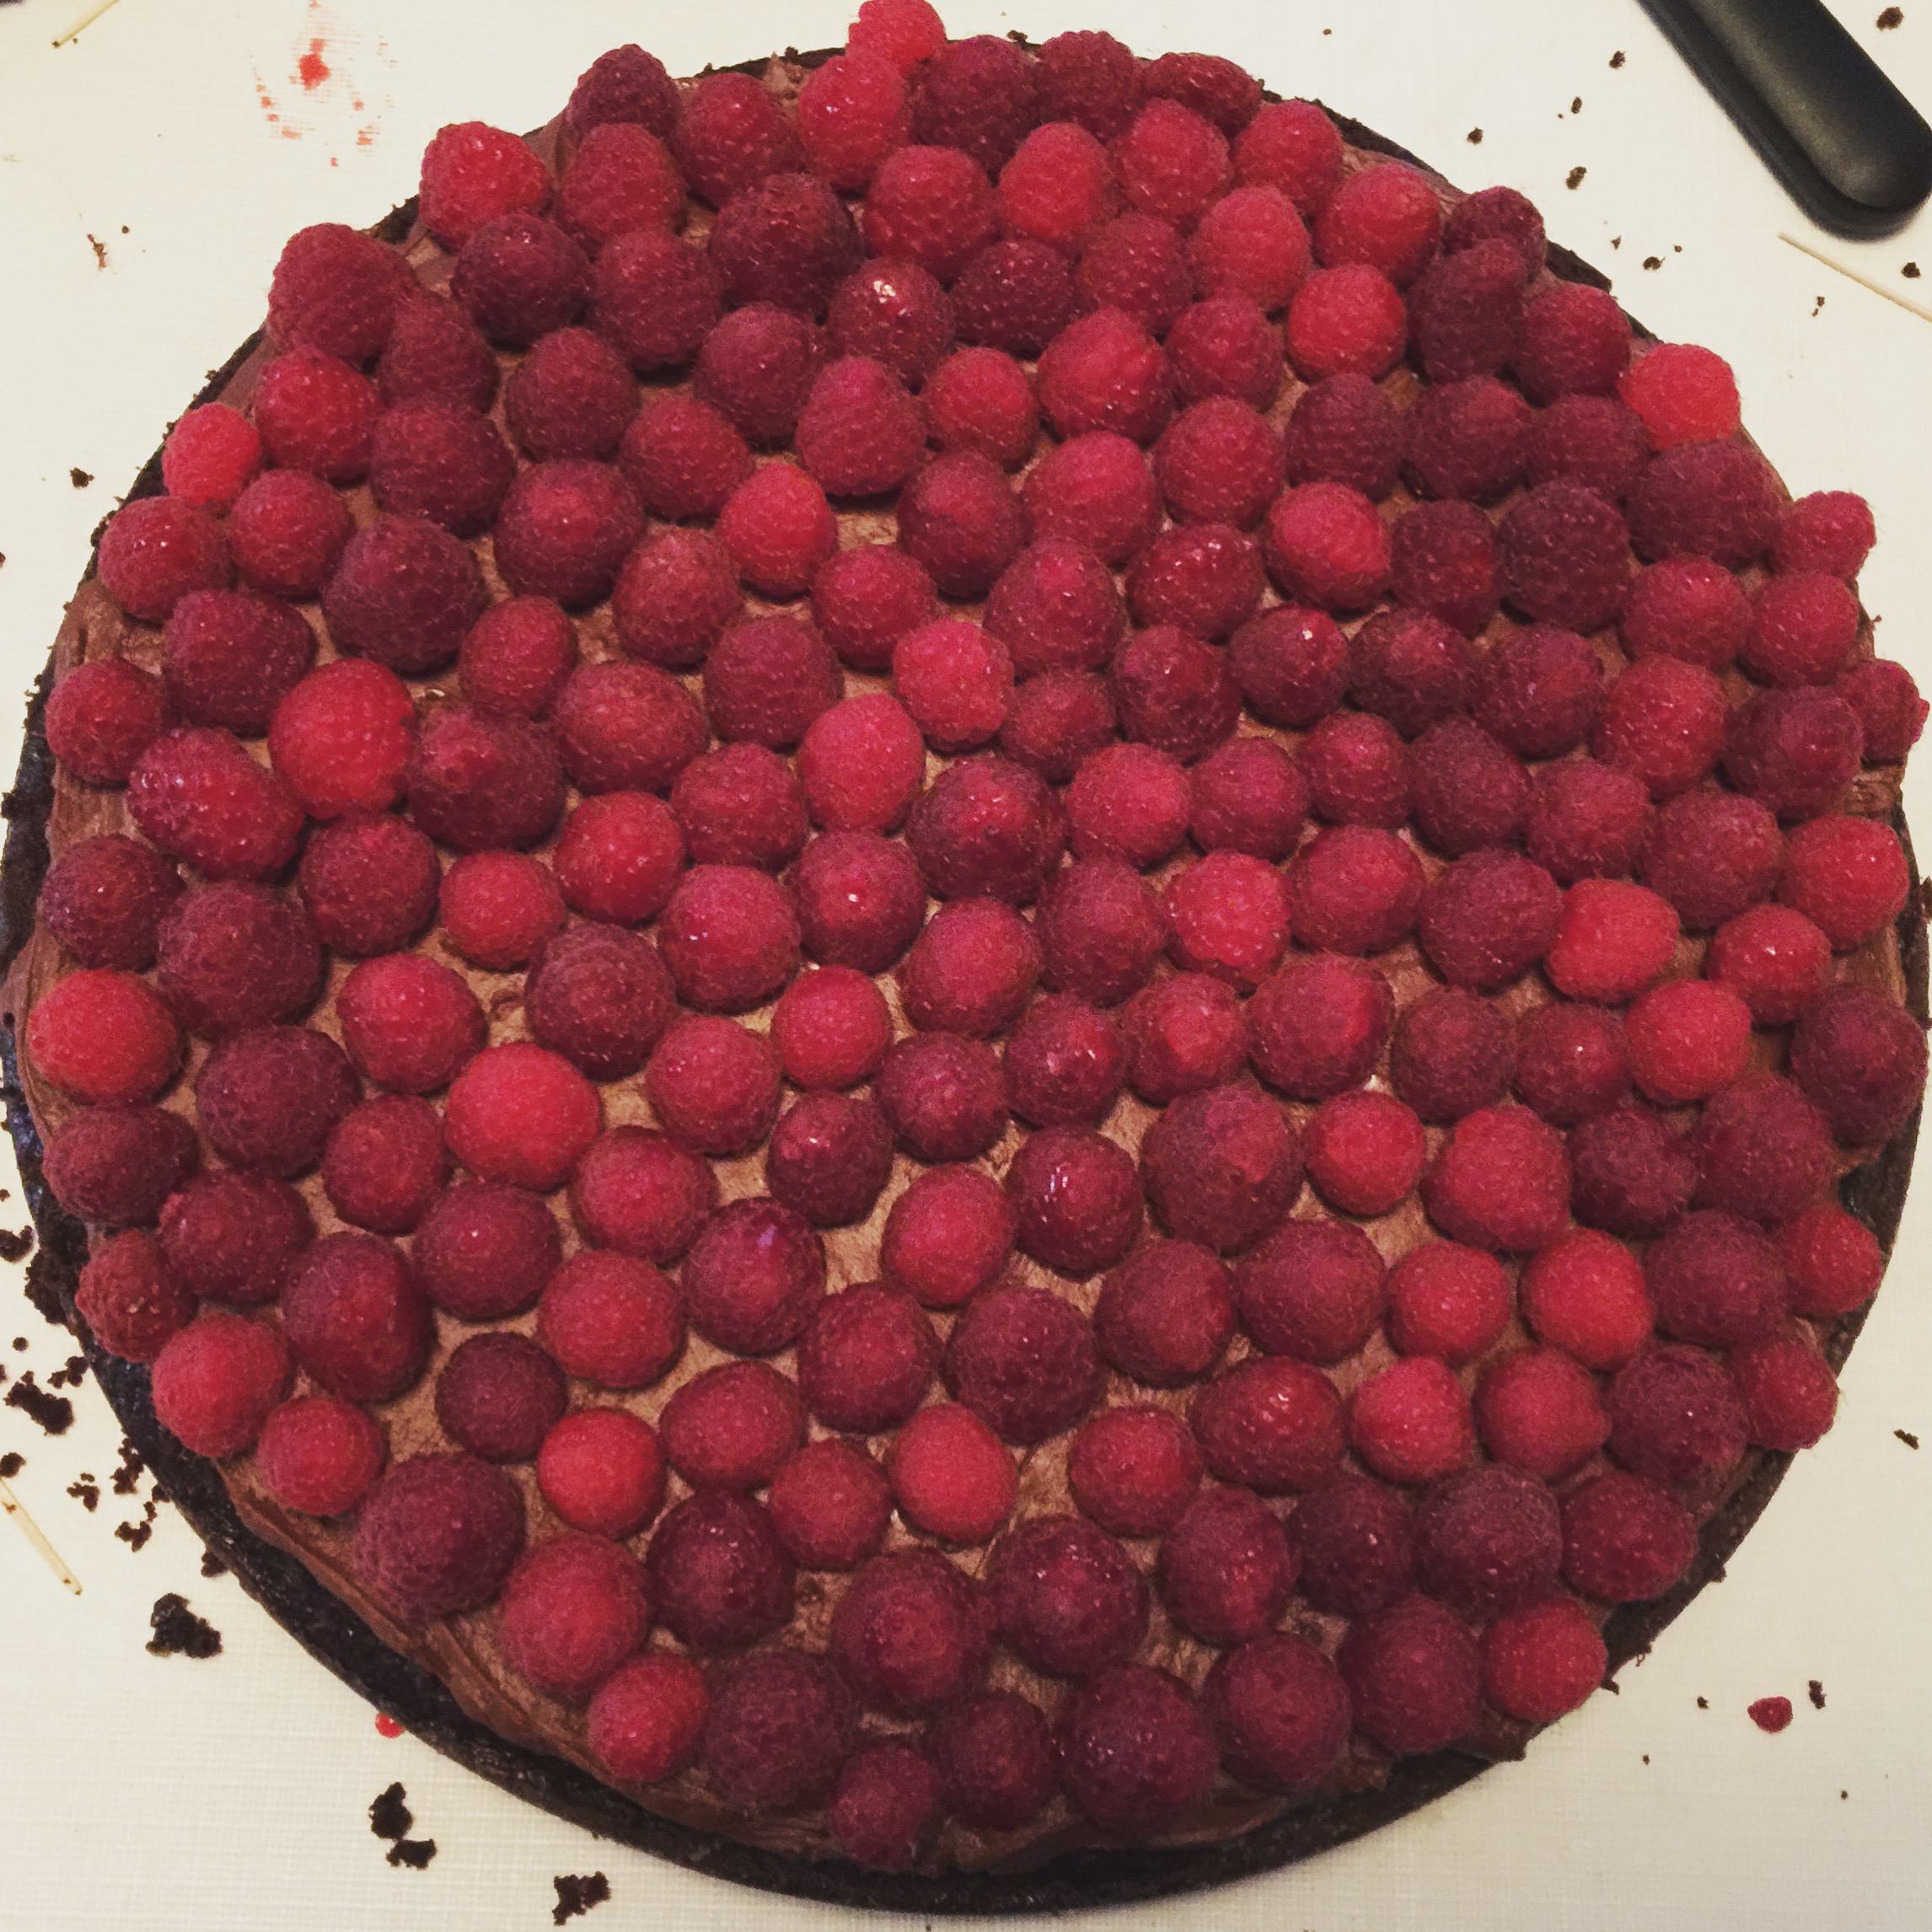
I added fresh raspberries on top of the chocolate filling for a special touch.[/caption]
Level (Up) Your Cakes
The key to beautifully flat tiers (and being able to stack them) is leveling the tops of your layers. There is special equipment you can buy if you're baking a lot of wedding cakes, but I do it like so: I place each layer on a cardboard round. Then, using my ruler, I insert wooden toothpicks all around the perimeter to mark where I need to cut. Then, using the toothpicks as a guide, I hold my serrated knife horizontally and slowly cut off the top of each layer, then remove the toothpicks. I often start around the edges and then make the final cut all the way through. Be sure to save the scraps! You can freeze them and use them later to make cake pops or a trifle.
[caption id="attachment_1171001" align="aligncenter" width="770"]
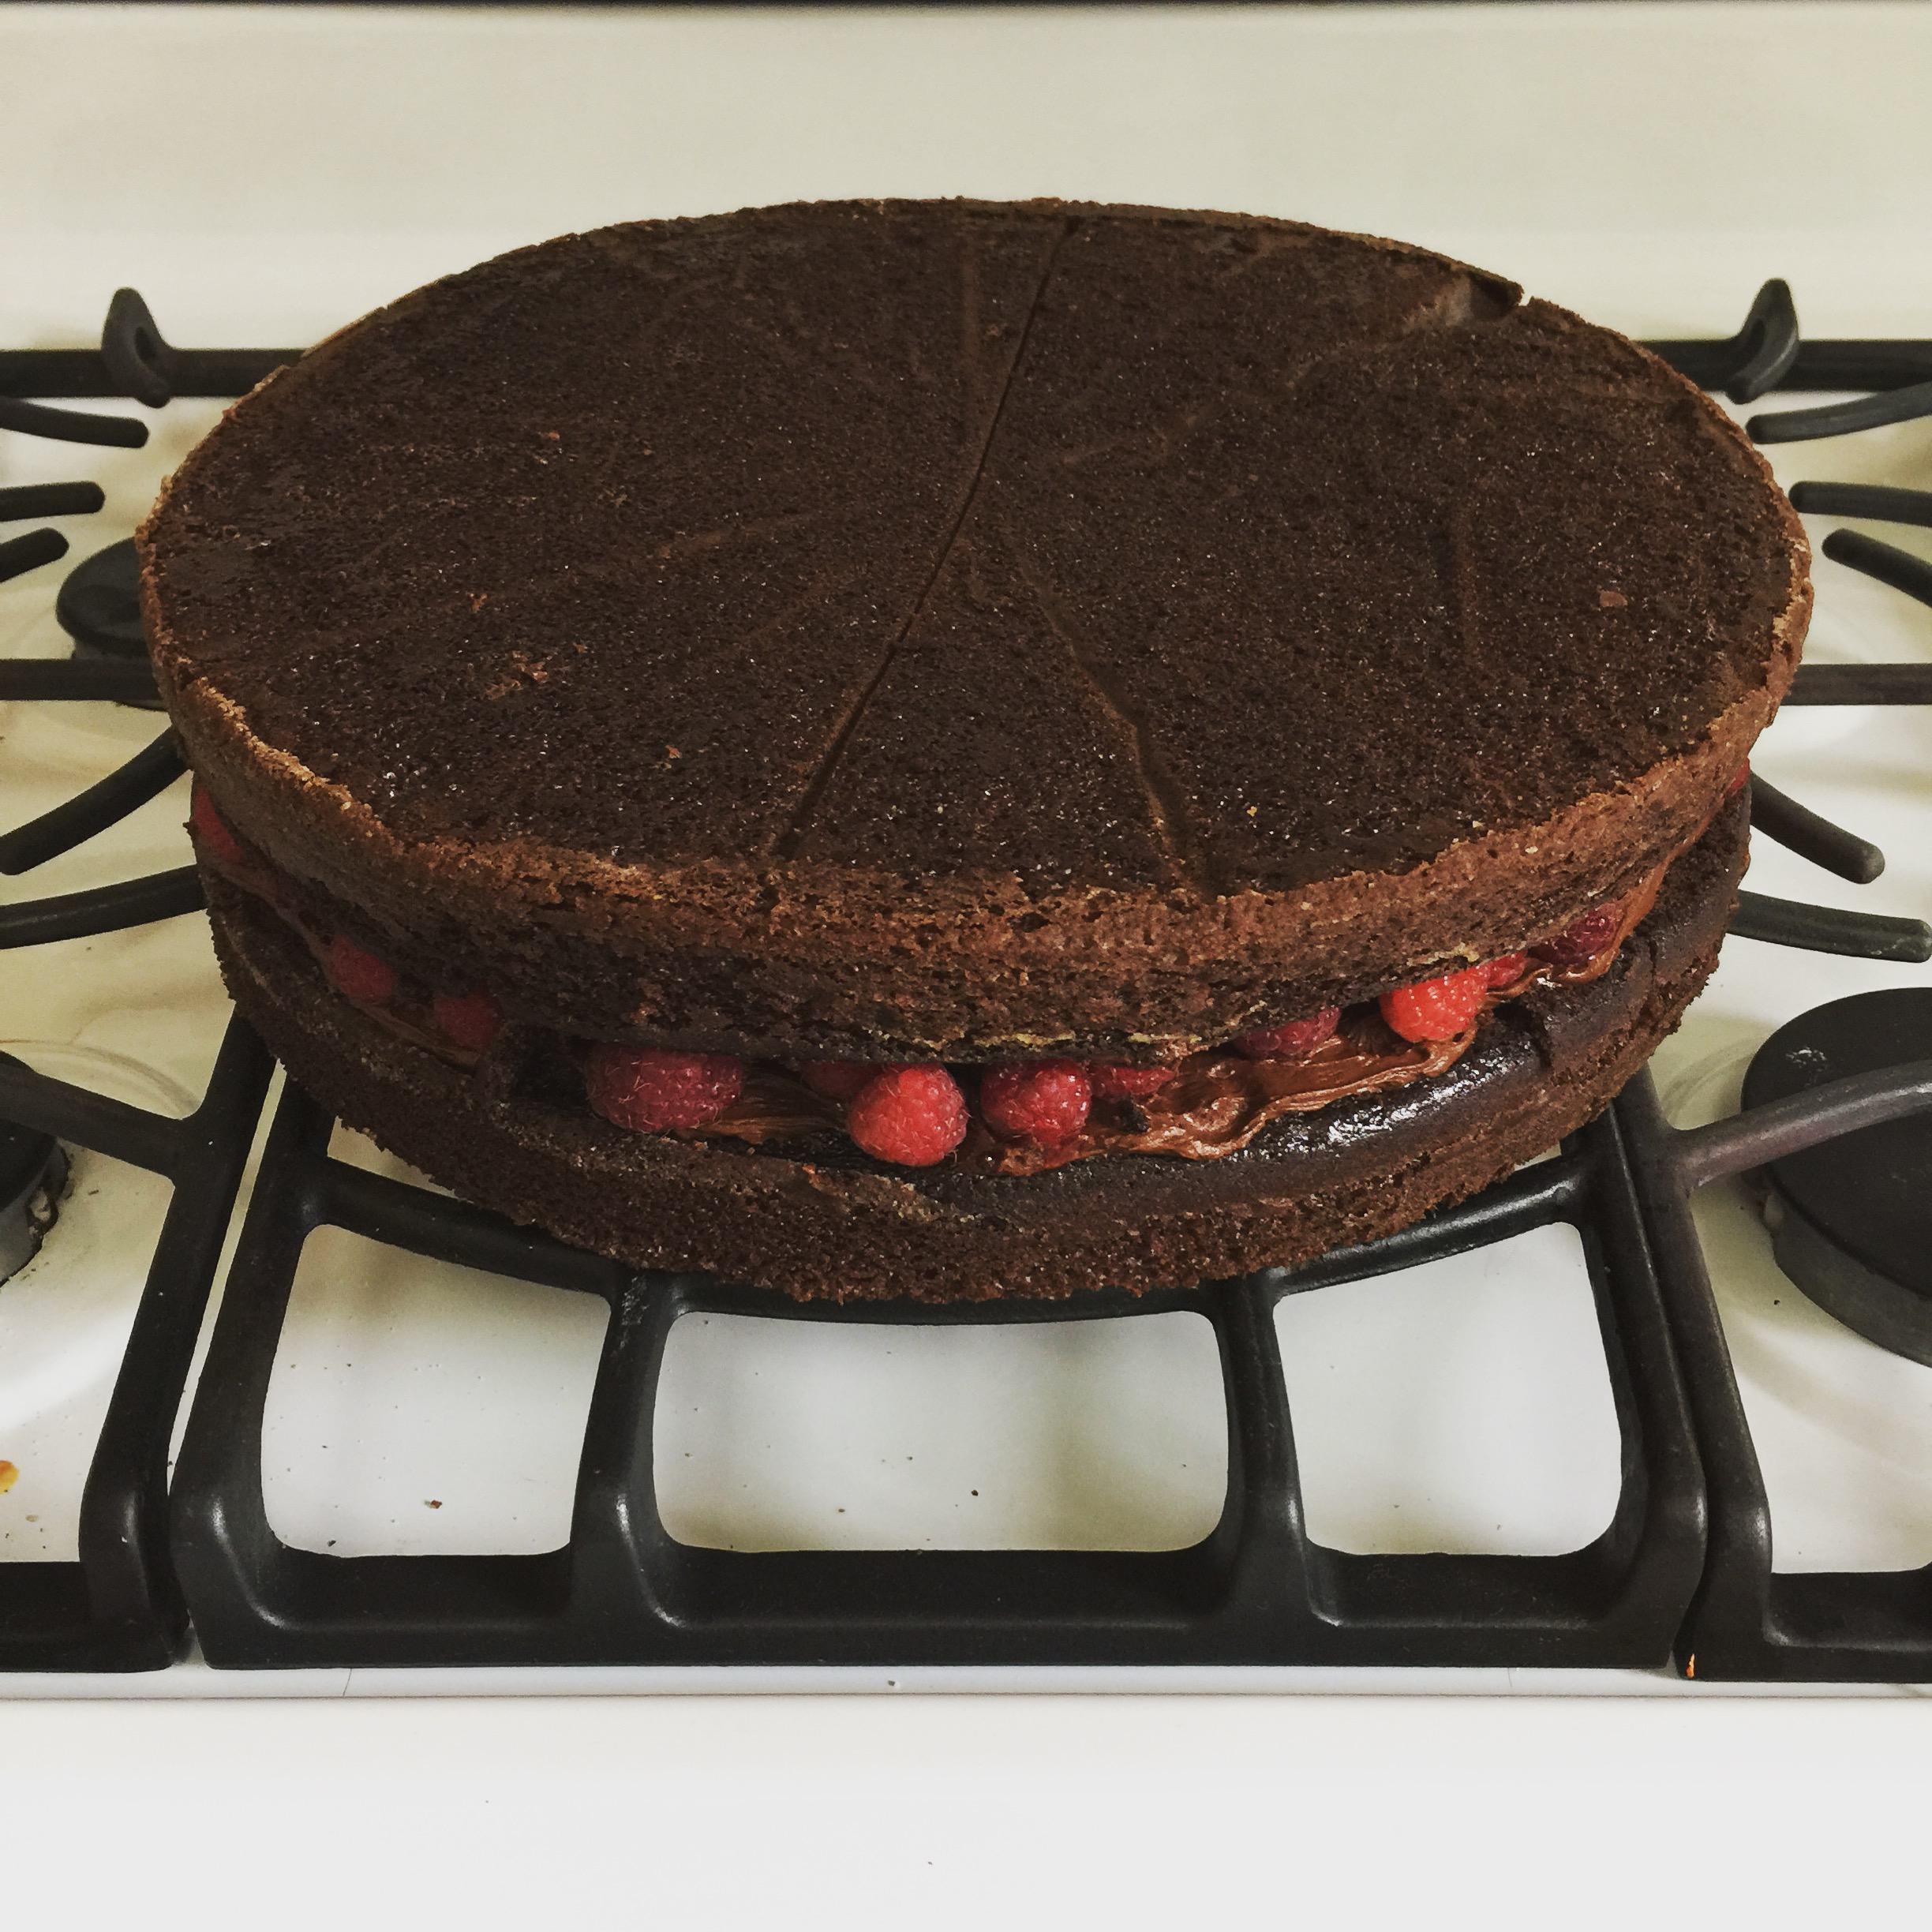
The chocolate tier is ready for frosting (it's sitting on a cardboard round).[/caption]
I recently made a cake where the bride and groom requested that a chocolate and raspberry bottom tier and two smaller carrot cake with orange marmalade tiers, all covered in cream cheese frosting. If you're baking different cakes for the tiers, leveling your cakes is especially important, since different cake recipes can rise to dissimilar heights. By cutting each layer to 1 1/2 inches, I created three tiers roughly 3 inches tall. Math, woo!
[caption id="attachment_1171002" align="aligncenter" width="770"]
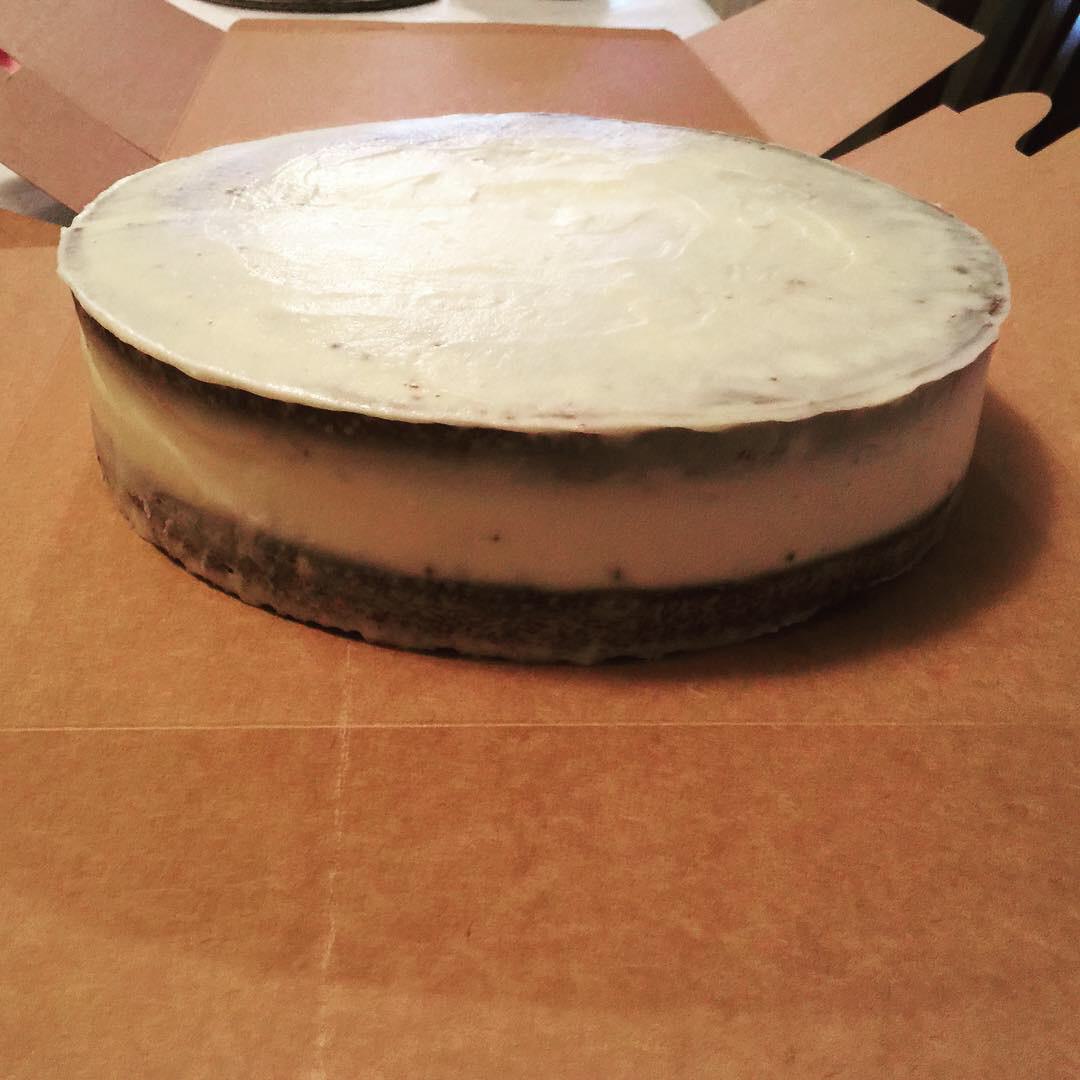
Frosted and ready to be refrigerated![/caption]
Assemble the Tiers
Now we're getting down to business! Take an appropriately sized cardboard round and add a tab of frosting to the center. Add one cake layer, bottom-side down. Now you can add your filling and then top it with another layer, bottom-side up (this will give you the flattest possible tier with the sharpest edges). From here, place your tier on a Lazy Susan (if you have one) and frost. For the most professional appearance, first do a crumb coat: a very light layer of frosting that will seal in all the crumbs. Refrigerate for 30-60 minutes, then finish frosting. I like to start at the top, spreading any excess down the sides, and then frost the sides, spinning the Lazy Susan. You can either use your large metal spatula to smooth the sides and top, or use a dedicated frosting smoother to do the job.
[caption id="attachment_1171003" align="aligncenter" width="770"]
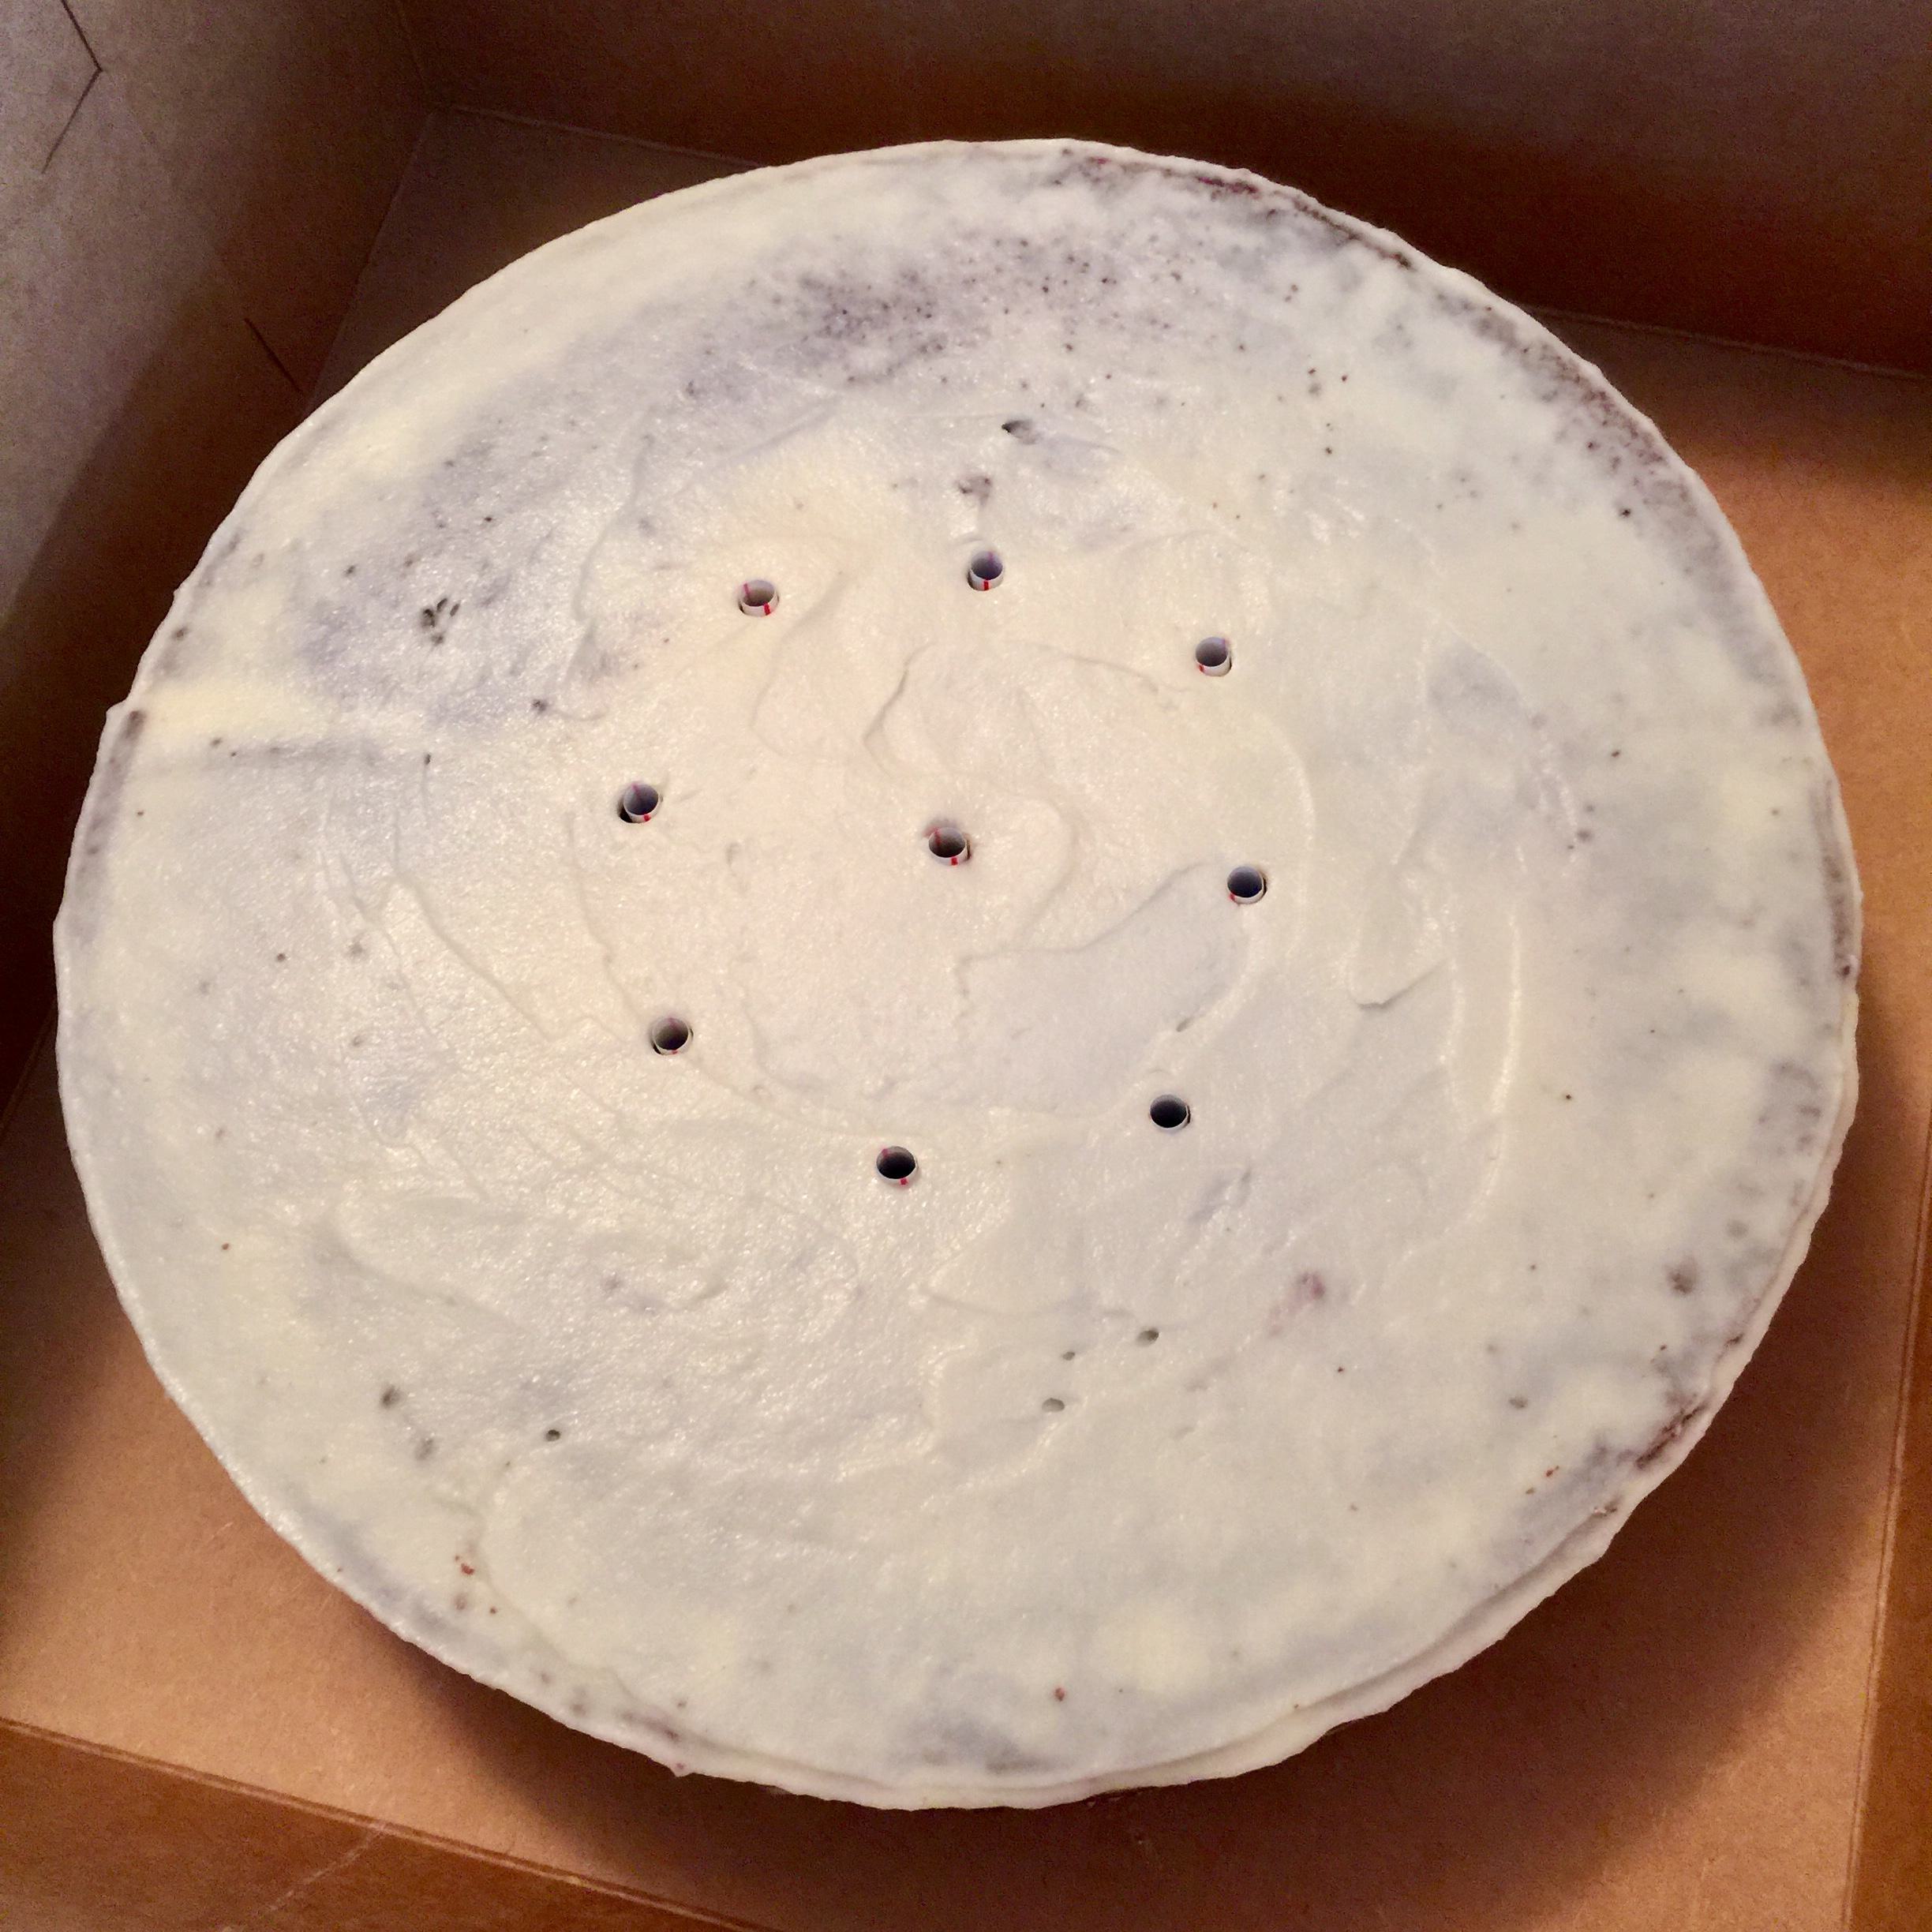
Everyday plastic drinking straws make a wonderful support for stacking.[/caption]
Stack the Tiers
One caveat: you actually don't want to stack the tiers until you get to the reception venue. It's much safer to box up each cake layer separately and transport them that way. But you can prepare them for stacking! It might seem unlikely, but you can actually stack cake tiers on cardboard rounds using plastic drinking straws! They are much easier to cut and use than dowels, and they do the job beautifully. (Note: this is if we're talking two or three tiers; I'd use dowels for taller cakes.)
Start by pushing a straw down through the center of your bottom tier until you hit the cardboard; make a tiny snip in the straw at cake height, then take the straw out and cut all the way through. Use this as your guide to cut however many straws you need. For example, for a 12-inch tier, you'll need one in the center and eight surrounding it, for a 9-inch tier, you'll need one straw in the center and six surrounding. To create a guide, lightly place the cake pan of the next-smallest tier face down on your cake round to form a faint circle. Remember, you need the straws to be underneath the cardboard of your next-smallest tier. And, of course, the top tier won't need any straws at all!
When you stack the tiers, remember to bring your metal spatula. You'll set down the tier with your hand, but you'll want to place your spatula under one side, remove your hand, and slowly lower the cake into place using the spatula. If you don't like the look of a slight gap between the tiers, bring a bag of frosting with a small round tip and place small pearl-sized beads of buttercream around the bottoms of the tiers.
[caption id="attachment_1171004" align="aligncenter" width="770"]
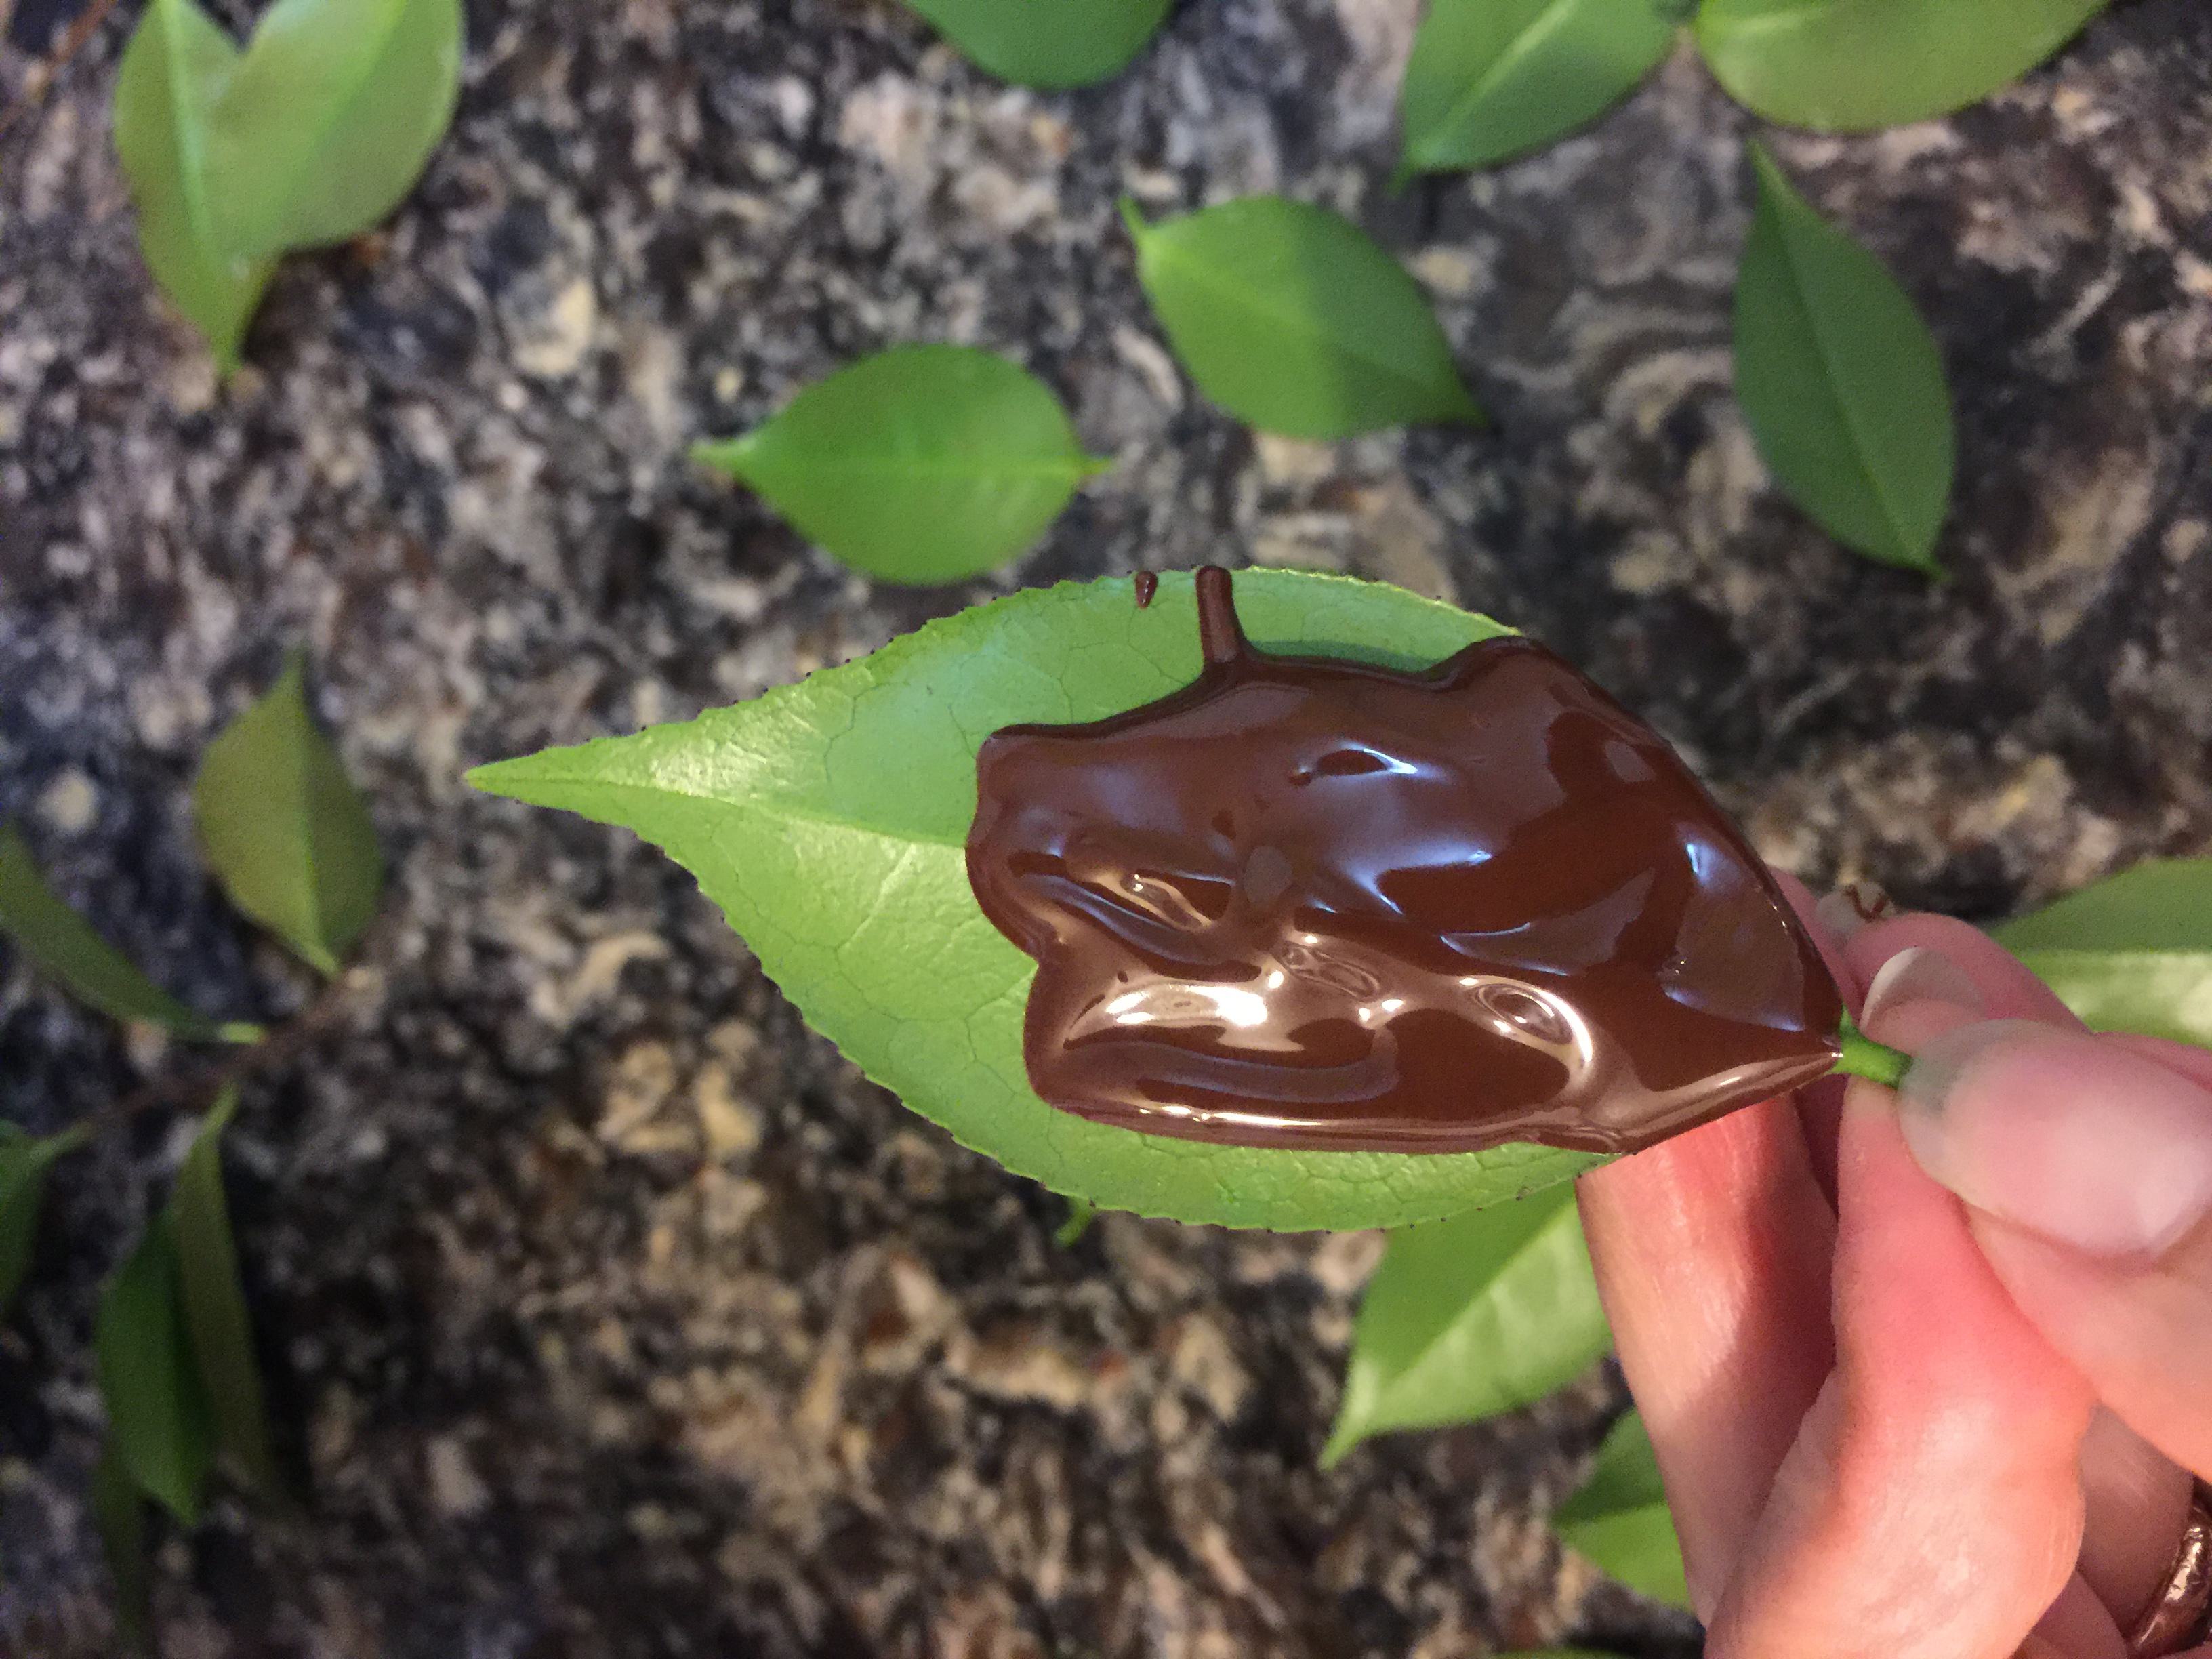
Chocolate leaves are deceptively easy to make.[/caption]
Decorating the Cake
I admit, I'm not great at piping. That's okay! You can use flowers, succulents, sugared fruitthere are a lot of simple options that look really beautiful. I'll occasionally wrap ribbon around the base of each tier, securing it with a straight pin in the back. If you're interested in learning to pipeor any cake decorating technique, reallythere are tons of YouTube videos you can watch, too.
For the cake I recently made (which featured the very hot "naked" style of frosting, i.e. just a crumb coat), the bride and groom wanted to continue their fall theme. I proposed multi-colored chocolate leaves, which are very easy to do but look amazing. To make them, I used camellia leaves from my own bush (so I knew they weren't treated with pesticides), washed and dried them, and "painted" the backs of the leaves with melted chocolate. I stored them in an airtight container between layers of wax paper in the fridge, and when it was time to decorate the cake, I gently peeled off the camellia leaves: voila! Perfectly detailed chocolate leaves.
[caption id="attachment_1171005" align="aligncenter" width="770"]
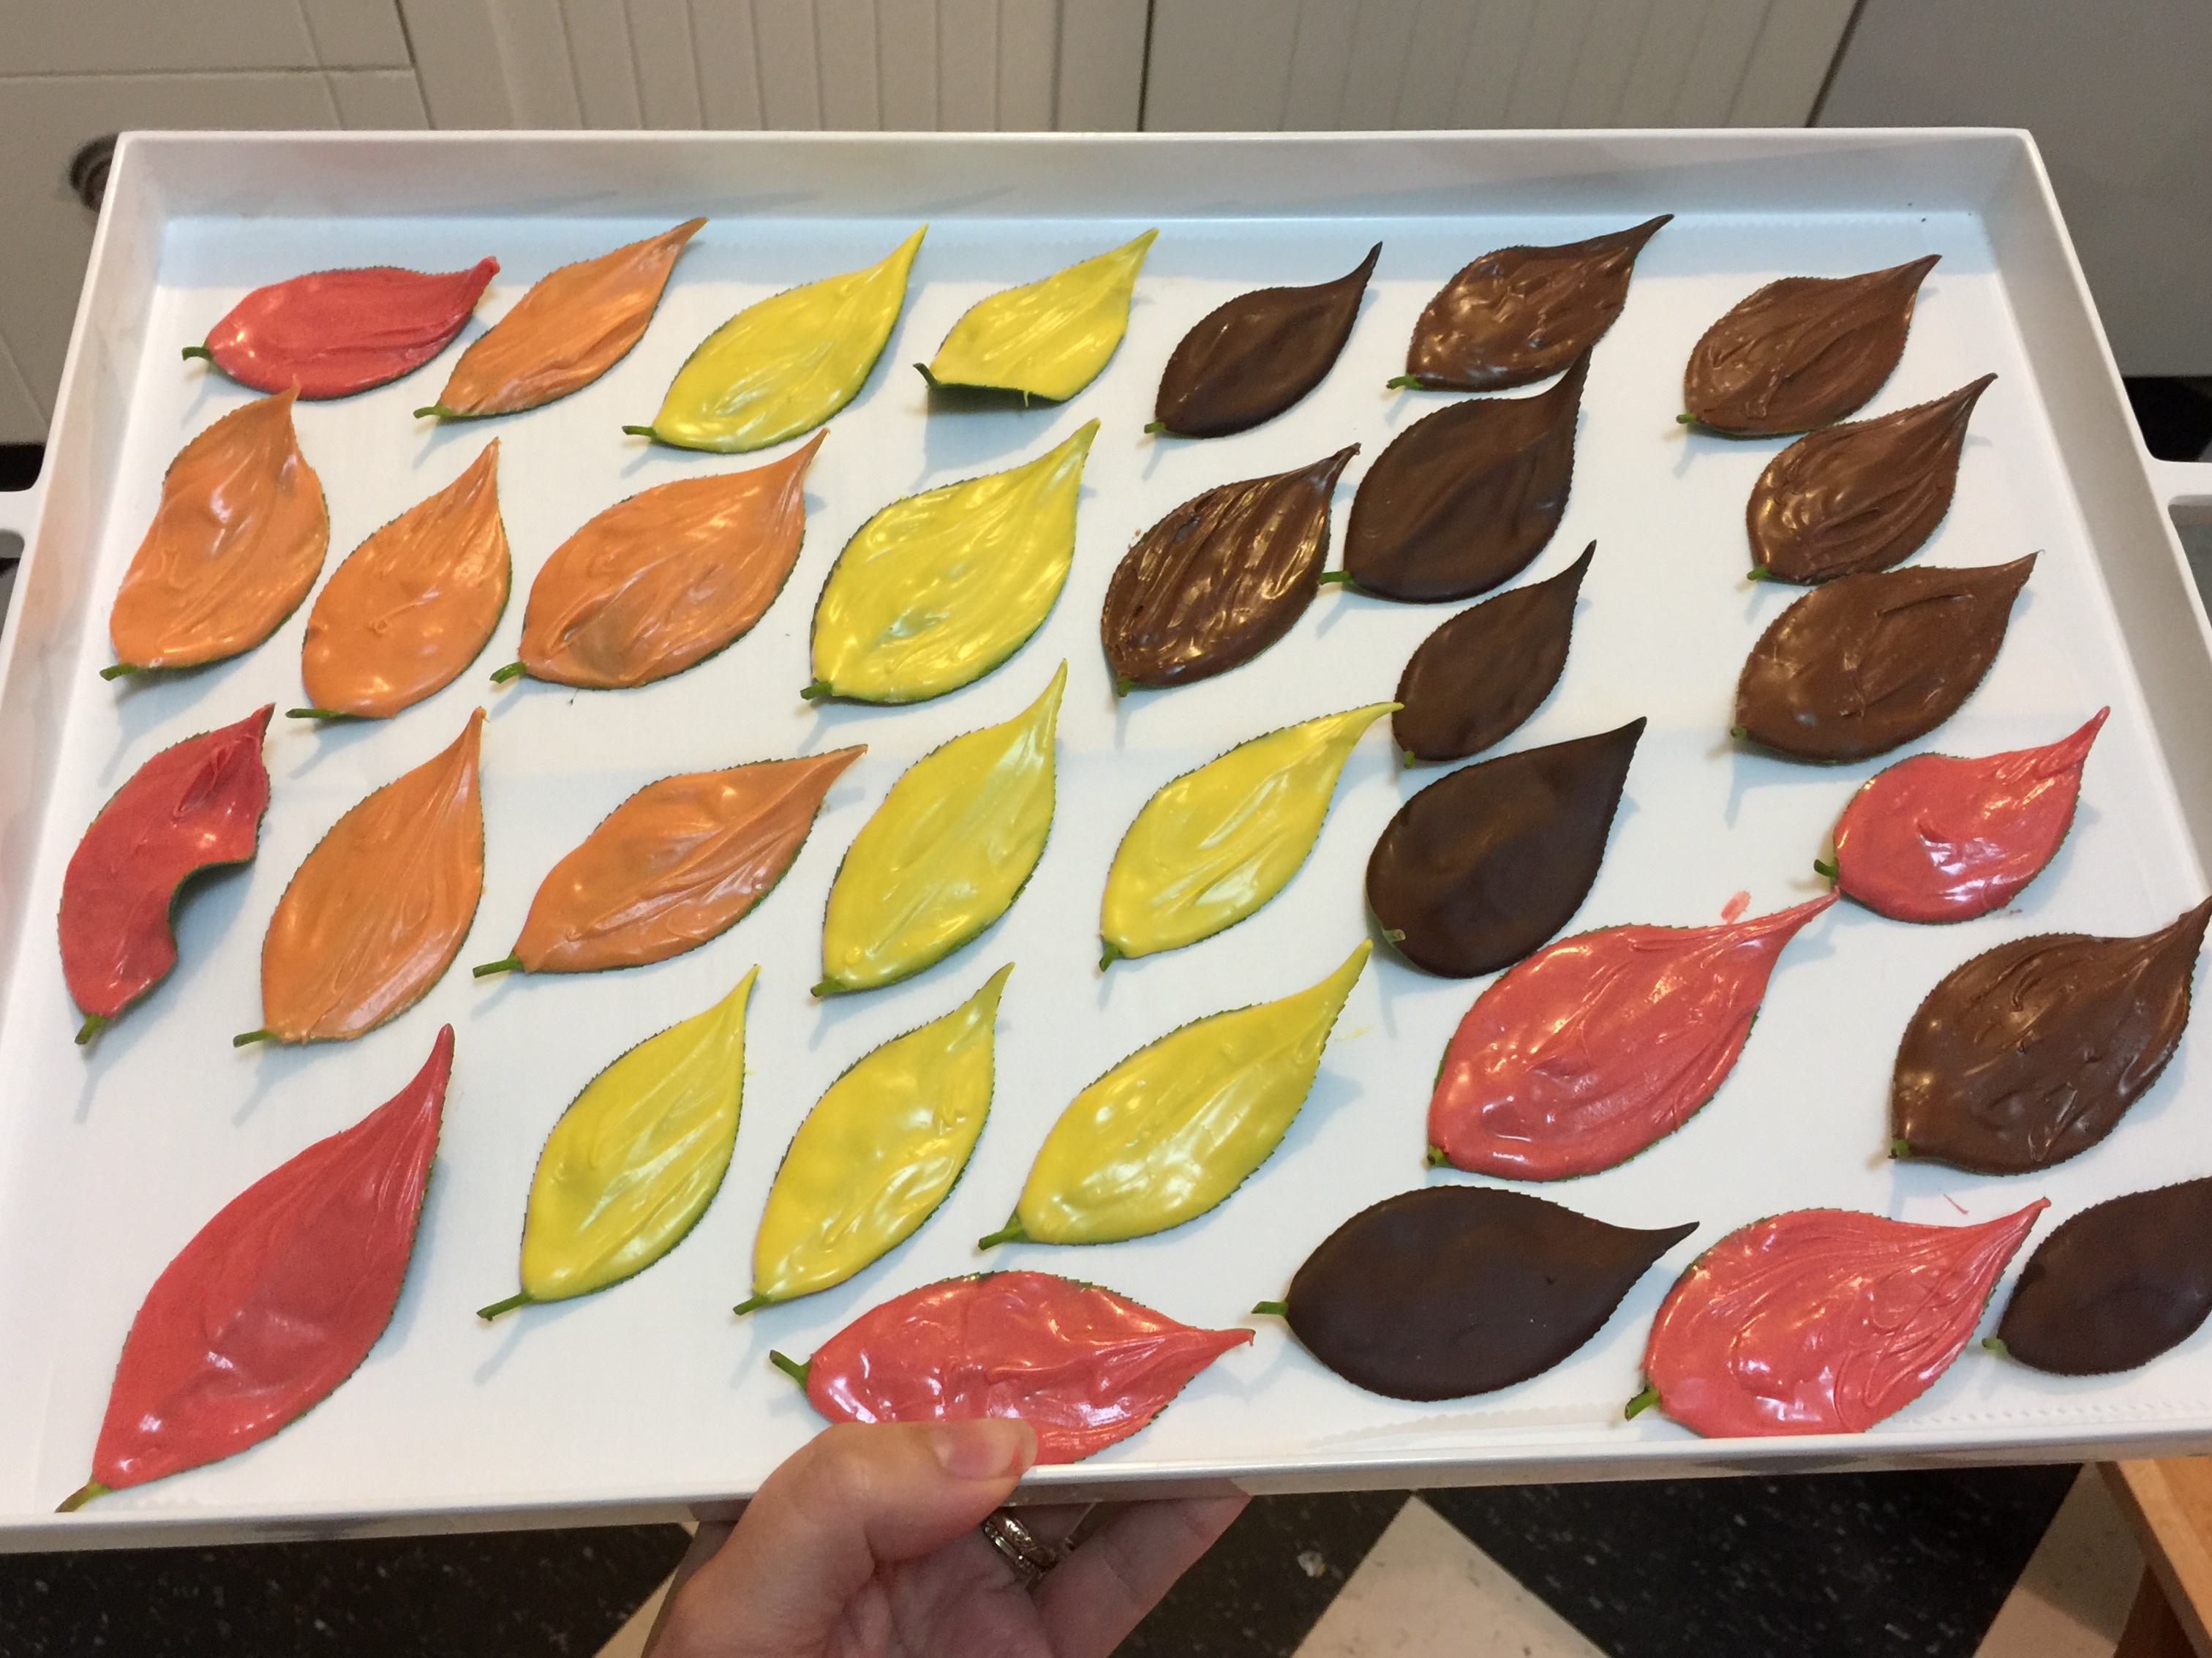
A trayful of colorful chocolate leaves![/caption]
I did some in dark and milk chocolate, and then took white chocolate and used gel food coloring to dye the rest fall covers. One caveat: be sure not to use too much dye, or the chocolate can seize (stiffen and become unusable). Have extra chocolate on hand just in case. I often add a little vegetable oil to help the dyed chocolate "flow" more smoothly.
You can actually use many kinds of non-poisonous, non-sprayed leaves for this purpose! I use camellias because they're evergreen, as well as thick and flexible.
[caption id="attachment_1171006" align="aligncenter" width="770"]
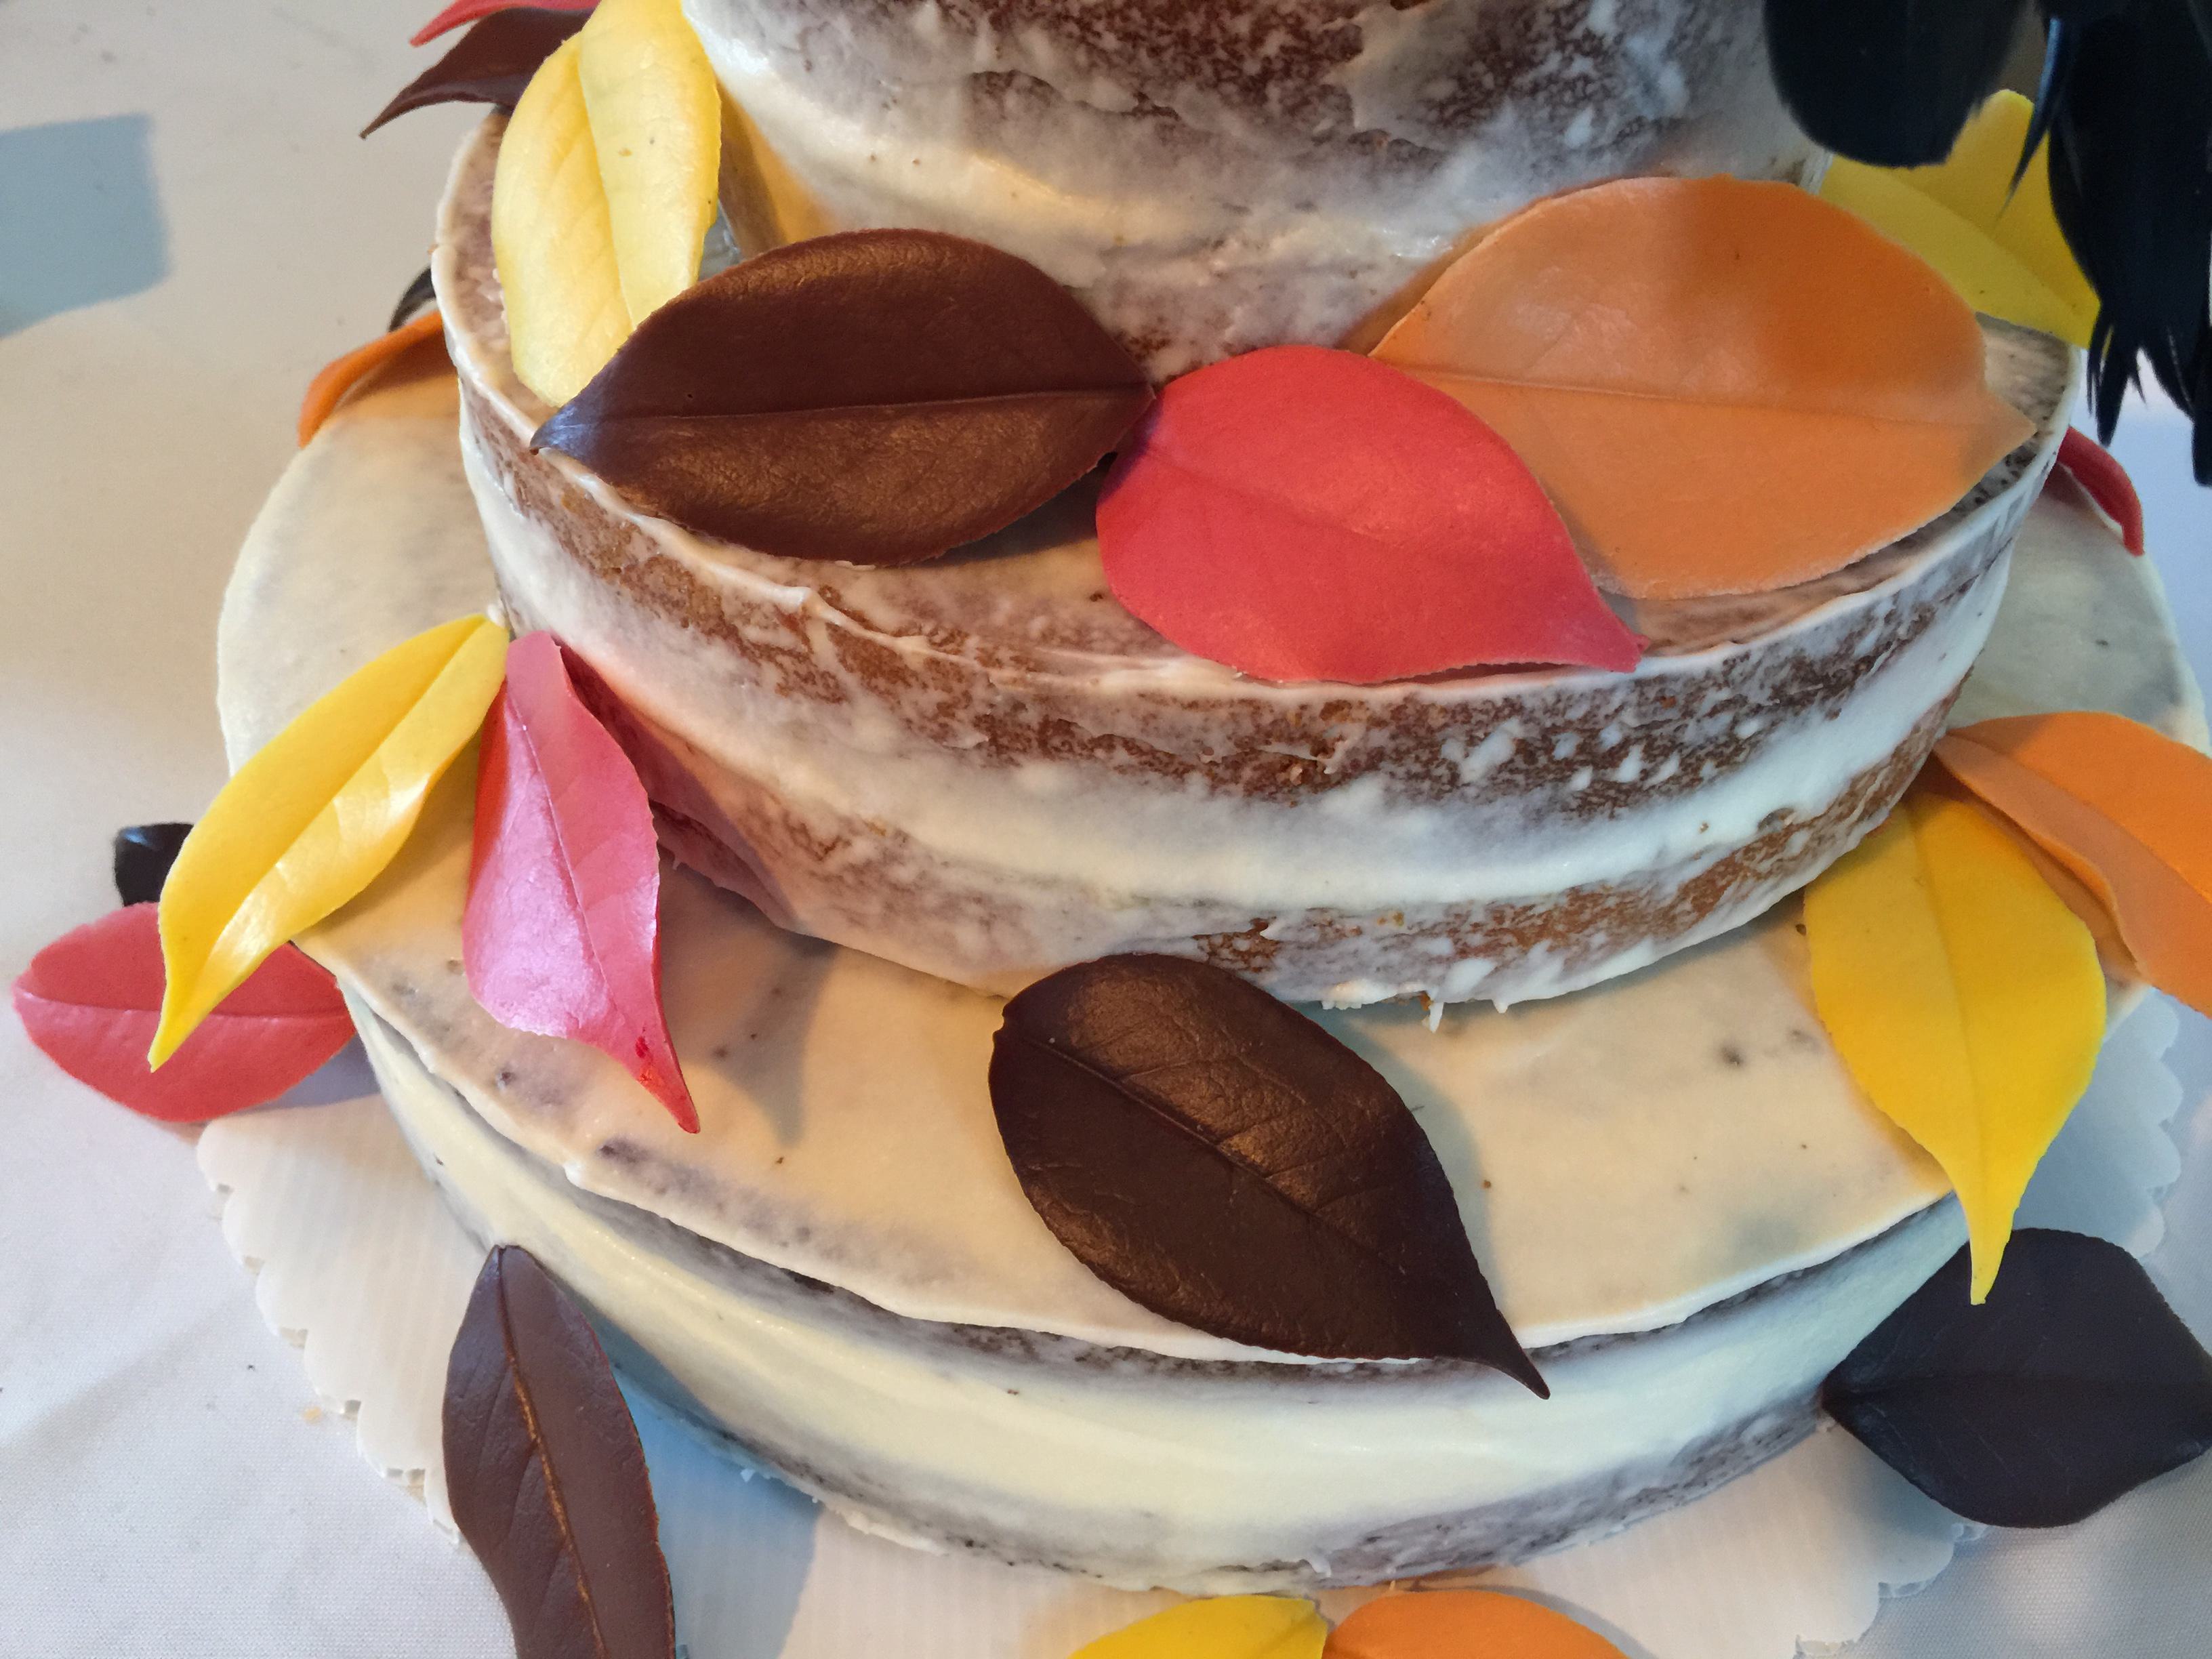
Closeup of the assembled wedding cake with chocolate leaves.[/caption]
Transporting Your Cake
Here's where using materials specific to cakes can be helpful: you can purchase paper cake boxes tailored to almost any cake diameter. Pro tip: I usually buy cake boxes that are a little bigger, since the frosting adds to the overall diameter and I don't want to squash it. After each tier is assembled on the appropriate cardboard round, place it in a box and put it in the fridge for at the
very least one hour. If it's summer and boiling outside, refrigerate overnight if you can! I once delivered a wedding cake during a 90-degree day and let the AC run full blast in my car for 30 minutes or so before loading the cake inside (I immediately brought them to the walk-in at the venue before decorating).
Wedding Cake Recipes
Carrot Cake is always a lovely surprise--especially when it's covered in rich cream cheese frosting! This recipe,courtesy of Jacqueline Bruchez from
The Seaside Baker, uses our Unbleached All Purpose Flour.
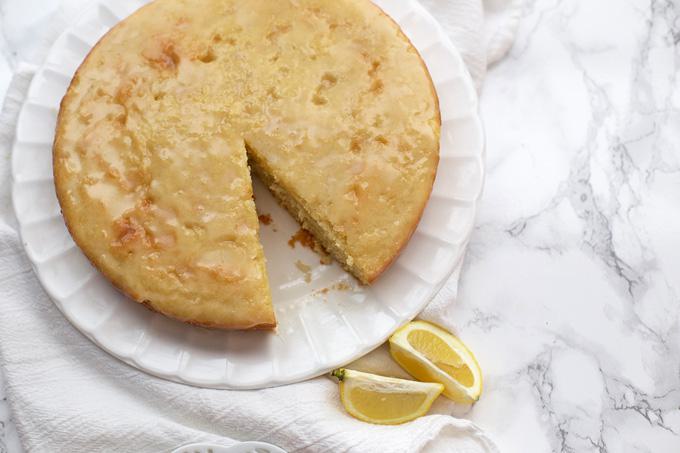
Emily Dixon from
One Lovely Life shared this delectable
Lemon Cake recipe with us. Made with our Gluten Free 1-to-1 Baking Flour and fresh lemon, it's zingy and tender.
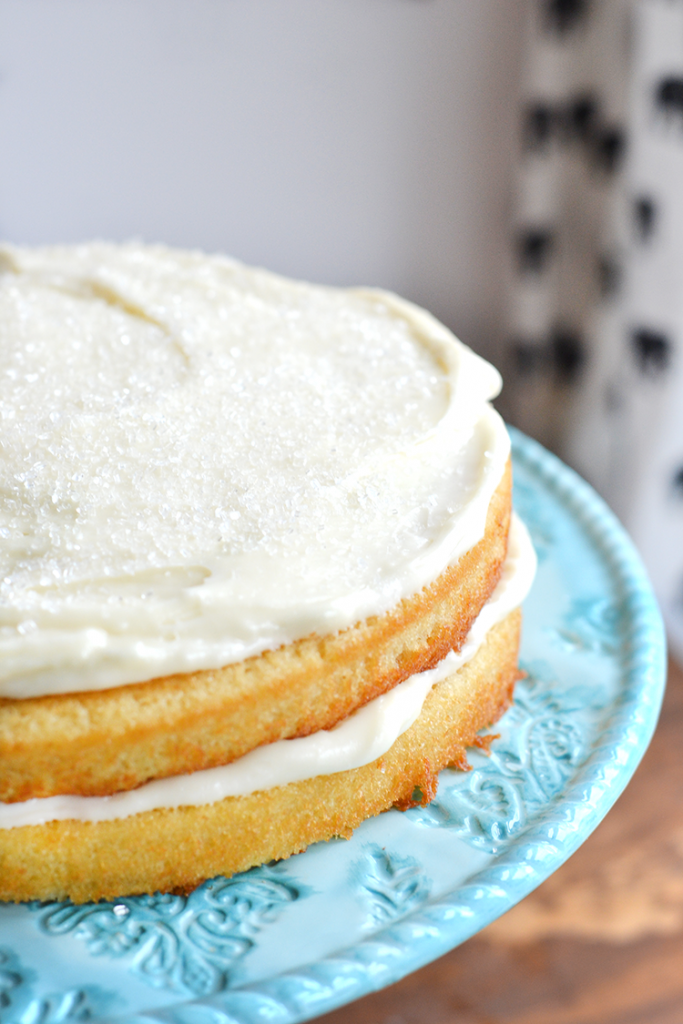
This classic
Homemade White Cake is a perennial wedding cake favorite. Made with egg whites, Unbleached All Purpose Flour and buttermilk, this cake pairs well with virtually any frosting or filling.
This
Orange Almond Flour Cake from
LivinPaleo is gluten free and paleo. The dried orange slices and sliced almonds make it especially beautiful.
Another fantastic, simple option is our
Gluten Free Vanilla Cake Mix or Chocolate Cake Mix. These soft, delicious cakes are easy to make--plus you can use our Gluten Free Egg Replacer and non-dairy milk to make them vegan.
Have you ever ventured into the realm of wedding cakes? What are your go-to tips? Post them below!



 The finished cake--frosted "naked" style with chocolate leaves and crows.[/caption]
If you looked at the title of this post and thought, Make a wedding cake? Ridiculous!I have to say, 20 years ago I thought the same thing! I'd been baking cakes since grade school, but something about the size (and tiers!) and importance of a wedding cake seemed far beyond my capabilities. Until I learned a few tricks, mostly fromThe Cake Bible byRose Levy Beranbaum (shoutout to this fantastic book!). With a few simple tips and a few tools, you too can make beautiful wedding cakes that are delicious, personal and special.
[caption id="attachment_1170995" align="aligncenter" width="770"]
 The foundation--literally--of any great cake: cardboard rounds![/caption]
 Look at all the cake! I made some bonus cupcakes with leftover batter.[/caption]
 This cake is actually a little too soft and airy to level easily, but delicious.[/caption]
 I use a spring-handled scoop to add frosting before smoothing![/caption]
 I added fresh raspberries on top of the chocolate filling for a special touch.[/caption]
 The chocolate tier is ready for frosting (it's sitting on a cardboard round).[/caption]
I recently made a cake where the bride and groom requested that a chocolate and raspberry bottom tier and two smaller carrot cake with orange marmalade tiers, all covered in cream cheese frosting. If you're baking different cakes for the tiers, leveling your cakes is especially important, since different cake recipes can rise to dissimilar heights. By cutting each layer to 1 1/2 inches, I created three tiers roughly 3 inches tall. Math, woo!
[caption id="attachment_1171002" align="aligncenter" width="770"]
 Frosted and ready to be refrigerated![/caption]
 Everyday plastic drinking straws make a wonderful support for stacking.[/caption]
 Chocolate leaves are deceptively easy to make.[/caption]
 A trayful of colorful chocolate leaves![/caption]
I did some in dark and milk chocolate, and then took white chocolate and used gel food coloring to dye the rest fall covers. One caveat: be sure not to use too much dye, or the chocolate can seize (stiffen and become unusable). Have extra chocolate on hand just in case. I often add a little vegetable oil to help the dyed chocolate "flow" more smoothly.
You can actually use many kinds of non-poisonous, non-sprayed leaves for this purpose! I use camellias because they're evergreen, as well as thick and flexible.
[caption id="attachment_1171006" align="aligncenter" width="770"]
 Closeup of the assembled wedding cake with chocolate leaves.[/caption]
 Emily Dixon fromOne Lovely Life shared this delectable Lemon Cake recipe with us. Made with our Gluten Free 1-to-1 Baking Flour and fresh lemon, it's zingy and tender.
 This classic Homemade White Cake is a perennial wedding cake favorite. Made with egg whites, Unbleached All Purpose Flour and buttermilk, this cake pairs well with virtually any frosting or filling.
This Orange Almond Flour Cake from LivinPaleo is gluten free and paleo. The dried orange slices and sliced almonds make it especially beautiful.
Another fantastic, simple option is our Gluten Free Vanilla Cake Mix or Chocolate Cake Mix. These soft, delicious cakes are easy to make--plus you can use our Gluten Free Egg Replacer and non-dairy milk to make them vegan.
Have you ever ventured into the realm of wedding cakes? What are your go-to tips? Post them below!